|
Article ID: 107
Last updated: 19 Sep, 2023
Congratulations! You are probably here because you received an email that advised you that you now have a Riva Cloud user account... and that you need to log in, set a permanent password, and configure data sync between your CRM and email accounts. This guide can be used by
To configure your Riva Cloud user:
Preventing DuplicatesNOTE: Have you already synced data by using the Outlook CRM plug-in or manually copied CRM calendar or contact data into Exchange? If so, to avoid duplicate entries, see Preventing duplicates: Dealing with Outlook plug-ins before using Riva Cloud.
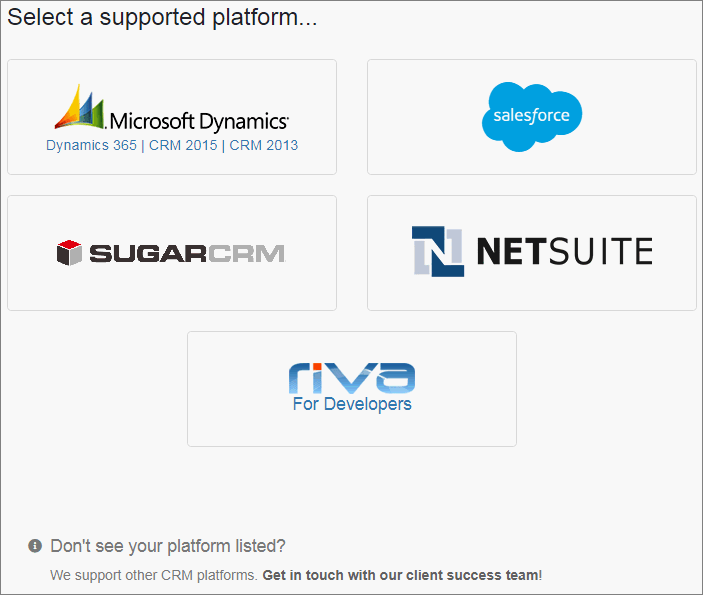
You can also run into duplicate entries problems if you test Riva Cloud and Riva On-Premise against the same email or CRM users at the same time. If your user account has been configured in Riva Cloud or Riva On-Premise before, see Do not run Riva twice against the same user. Step 1: Log In to Riva CloudSee Log in to a Riva Cloud account. Step 2: Create Your CRM Connection
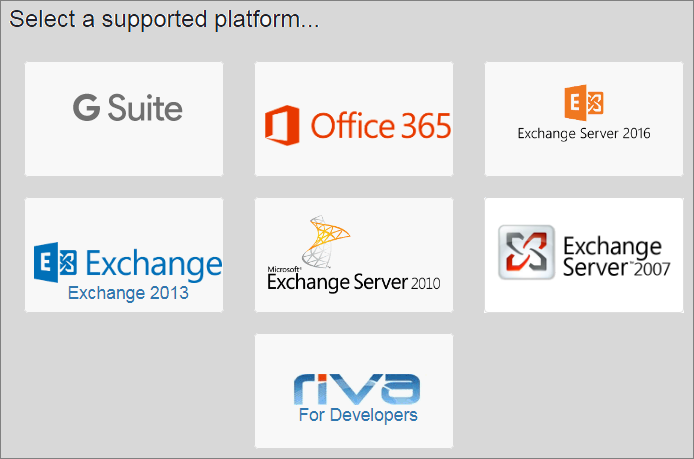
Step 3: Create Your Email ConnectionAfter you have created your CRM connection, the Get Started page reappears. To create your email connection:
Step 4: Configure Your Sync PolicyAfter you have created your CRM and email connections, your Dashboard view changes, so that you can configure the sync interval, category, folder names, Riva SmartConvert options, and AssignTo options.
Select Configure Policy to open the appropriate wizard, depending on your email connection. Follow the steps in the appropriate guide:
Step 5: Confirm Your Initial Sync
Step 6: Continue with the Rest of the Get Started ChecklistAfter configuring your Riva Cloud user and verifying that you are syncing data between your CRM and email accounts, complete the remaining steps in the Get Started checklist you started with:
Article ID: 107
Last updated: 19 Sep, 2023
Revision: 27
Views: 18065
Also read
Also listed in
|
.png)
