|
Article ID: 271
Last updated: 17 Apr, 2020
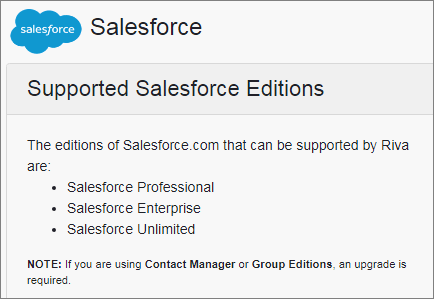
Riva supports
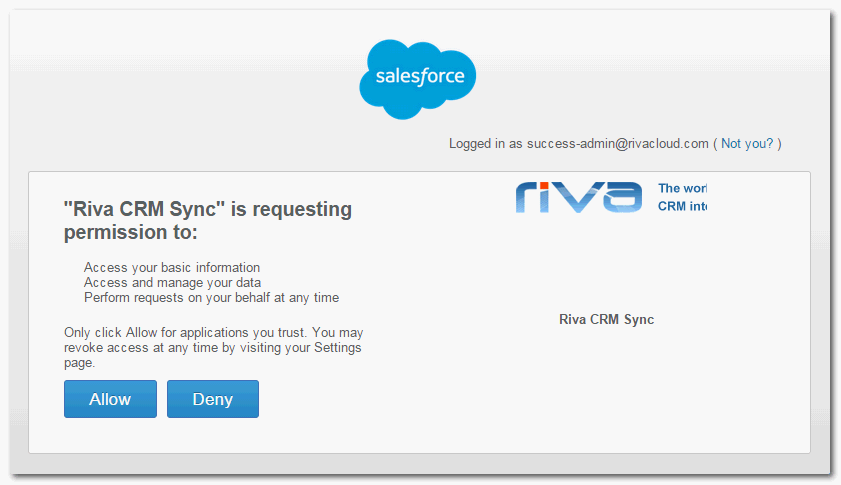
In both cases, these three editions are supported: Professional, Enterprise, and Unlimited. Riva Cloud Salesforce connections support the OAuth protocol by default. With OAuth, Riva Cloud prompts the user to
What are the advantages?
To create and edit a Salesforce connection:
Step 1: Create a Riva Cloud Connection for an "Active User" Salesforce User Account Using OAuthTo create a Riva Cloud connection to Salesforce using OAuth:
Step 2: Optionally Set Options on a ConnectionTo set options on your Salesforce connection:
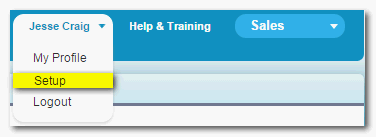
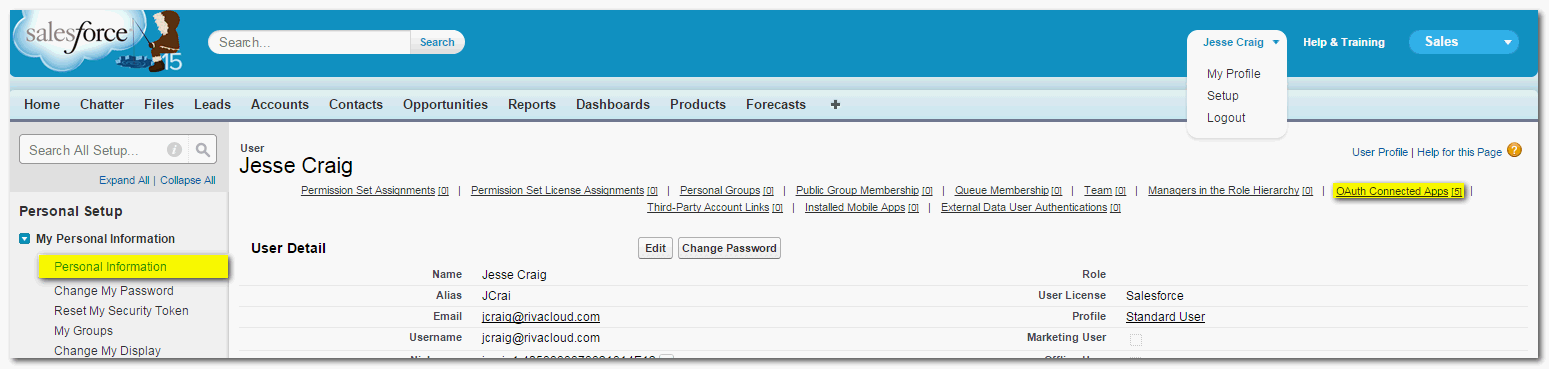
Step 3: Verify the Remote Access Token and Revoke Access (If Required)If necessary, the Salesforce user can verify and revoke the OAuth security token. To verify the remote access token and (if required) revoke access:
This article was:
Helpful |
Not helpful
Report an issue
Article ID: 271
Last updated: 17 Apr, 2020
Revision: 24
Views: 11250
Comments: 0
Also read
|

.png)