Riva CRM Integration - Documentation and Knowledge Base

Create a Sage CRM Connection: Riva Cloud

Article ID: 276
Last updated: 26 Aug, 2020
A new Riva connection to this CRM is no longer configurable in the Riva Cloud UI. For a new Riva connection, contact the Riva Success Team.

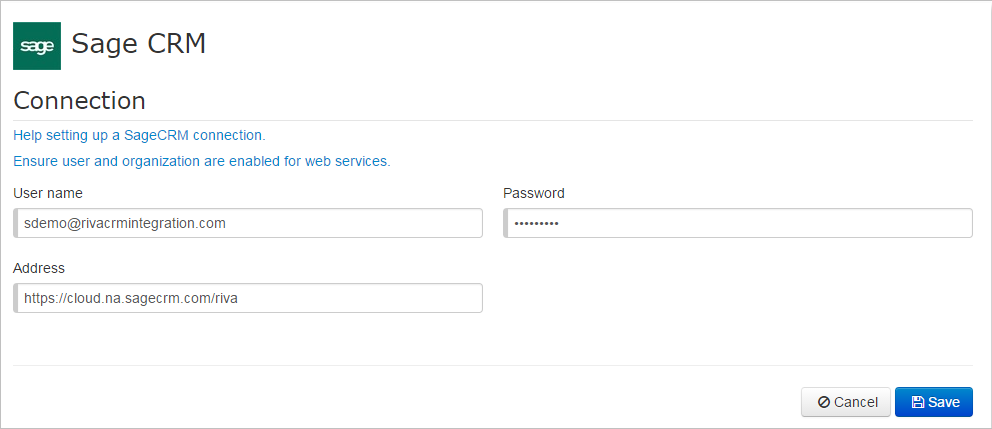
An existing Riva connection with this CRM is still available for editing on the Dashboard.

To create a Sage CRM connection:

  1. If you are using Riva Cloud Corporate, ensure that you have followed this procedure: Prepare Sage CRM On-Demand for Riva Cloud Corporate.

  2. Log in to https://www.rivacloud.com.

  3. On the Get Started page, select Configure your CRM.

  4. On the list of CRMs that appears, select the Sage CRM icon.

  5. Provide the required connection details.

  6. Select Save.

    The Riva Cloud service attempts to connect to your CRM account with the credentials and connection information that you have provided.

  7. Do one of the following:

    • If the connection setup is successful, select OK. The CRM connection is added to your Riva Cloud account.

    • If you experience issues, contact the Riva Success Team.

How to Find the Web Services URL

To locate the proper Web Services URL for your organization:

  • Do one of the following:

    • Ask your Sage CRM administrator, or

    • Log in to your Sage CRM instance, and navigate to Administration | Manage My Account | External Access | Web Services.

      As underlined in red inside the red "rectangle" on the screen shot, the URL begins with https:// and ends just before eware.dll.

      More specifically, the URL is structured like this:

      https://[region].sagecrm.com/[COMPANYID]

      Technical Note: The WSDL file does not need to be accessible for Riva to connect. This is only one of the methods to find the Web Services URL.

This article was:   Helpful | Not helpful
Report an issue
Article ID: 276
Last updated: 26 Aug, 2020
Revision: 9
Views: 7275
Comments: 0
Also read