|
Article ID: 767
Last updated: 20 Sep, 2022
Welcome to the Get Started checklist for Riva Cloud Company subscriptions. To get started with Riva Cloud Company: Preliminaries:
Preparing for the connections and sync policy.
Creating connections and configuring the sync policy of individual users:
Riva Insight:
Finish adding users:
Now what?
Preliminaries
Preliminaries — Step 1: Setting Up a Riva Cloud AccountContact us to create the Riva Cloud subscription admin user (the account holder). We highly recommend using a generic email address (for example, rivasvc@example.com) when setting up a new Riva Cloud subscription. This will prevent future issues if the individual who registers a new Riva Cloud subscription leaves the organization. This email address can be
Preliminaries — Step 2: Choose Riva Cloud Company ModeAfter setting up your account, you see the Riva Cloud Get Started page. To choose the Riva Cloud Company mode:
To confirm that your subscription is in Company mode:
Preliminaries — Step 3:Preparing for the connections and sync policy
Prevent Duplicate DataHave you already synced data with the Outlook CRM plug-in or manually copied CRM calendar or contact data into Exchange? If so, before using Riva Cloud, to avoid duplicate entries, see Preventing duplicates: Dealing with Outlook and HCL Notes plug-ins.
You can also run into duplicate entries problems if you test Riva Cloud and Riva On-Premise against the same email and/or CRM users at the same time. If your user account has been configured in Riva Cloud or Riva On-Premise before, see Do not run Riva On-Premise twice against the same user. Creating Connections and Configuring the Sync Policy of Individual Users
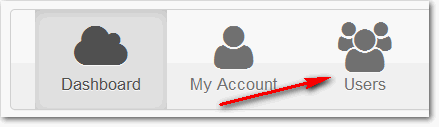
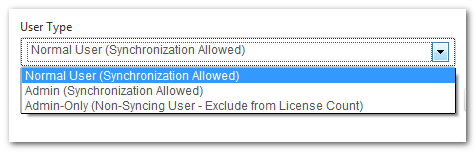
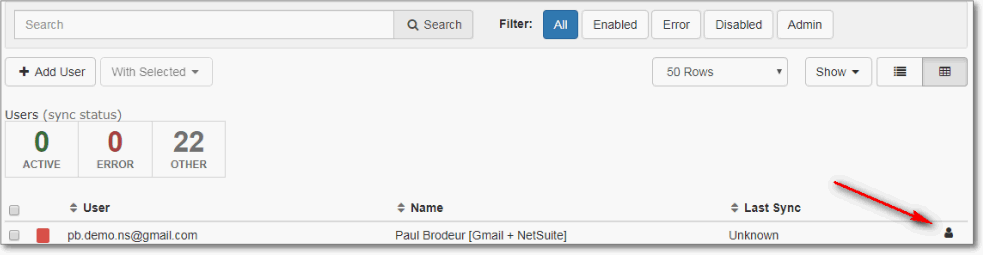
Creating and Configuring — Step 1: If Applicable, Set Up the Admin User Connections and Sync PolicyIf you have configured the admin user as a non-syncing user (who does not consume a license count), this step does not apply to you. If you want to change the admin user to a non-syncing admin user, you can still do so now. Otherwise, by default, the user who registered for the Riva Cloud trial (the account holder) is set up as an administrator who is also a syncing user (and consumes a license count). You can accept the default configuration and configure the connections and sync policy for the admin user. Creating and Configuring — Step 2: Add Users to SyncOnly admin users have the Users option available on the menu bar.
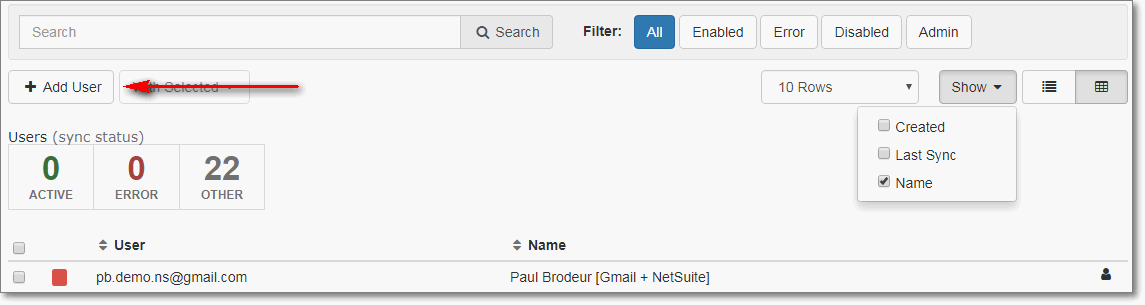
You can add syncing users to the Company account. For trial subscriptions, the limit is a total of five syncing users. For a paid subscription, the limit matches the total number of user seats purchased in the subscription. To add users:
Creating and Configuring — Step 3: Configure Each User's Connections and Sync PolicyIn Company Mode, every user in the User Manager needs to be configured with a CRM connection, an email connection, and a sync policy before Riva Cloud can sync data for that user. There are two options to configure the syncing users in Company subscription accounts:
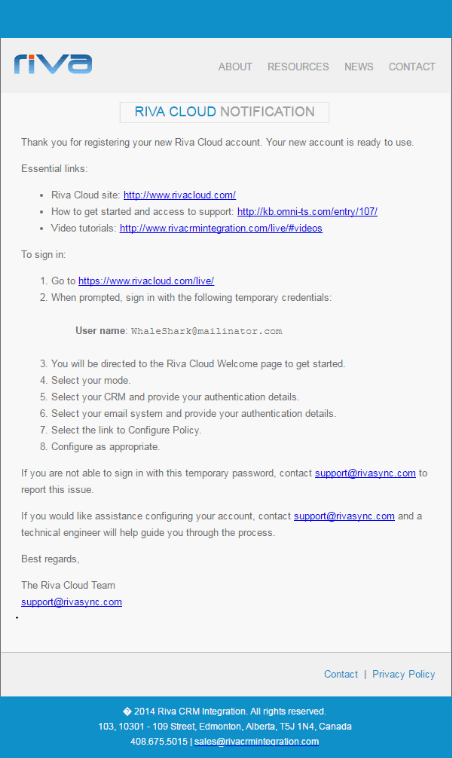
Individual users configure their own connections and sync policiesIf the Send Welcome Email option is set to To user, the users receive an email from Riva Cloud.
Each user can log in to Riva Cloud and follow the procedure titled Set up a Riva Cloud user. The admin user configures the syncing usersWith this option, the Riva Cloud admin user can impersonate each syncing user and configure the user's connections and sync policy. The Riva Cloud admin needs the login credentials for each syncing user's CRM and email accounts. To configure syncing users:
Article ID: 767
Last updated: 20 Sep, 2022
Revision: 27
Views: 8812
|