Riva CRM Integration - Documentation and Knowledge Base

Get Started: Riva Cloud Corporate

Article ID: 591
Last updated: 20 Sep, 2022

Welcome to the Get Started checklist for Riva Cloud Corporate.

Riva Cloud Corporate is different from Riva Cloud Company mode. With Riva Cloud Corporate, the setup includes

  • creating one connection to the CRM with the credentials of an admin account that is able to impersonate and write into the CRM users that Riva Cloud will sync data to,
  • creating one connection to the email system with the credentials of a service or admin account that is able to impersonate and write into the user mailboxes that Riva Cloud will sync data to, and
  • creating one sync policy that applies to the CRM and email users that Riva Cloud will sync data for.

The following steps focus on the initial configuration and testing of data sync for one user. This permits tweaking the sync policy before adding the rest of the syncing users.

To get started with Riva Cloud Corporate:

Preliminaries:

  1. Ensure that you have a Riva Cloud account set up.
  2. Choose the Riva Cloud Corporate mode.
  3. Turn the admin user into a non-syncing, admin-only user.

Connections:

  1. Prepare your CRM for Riva Cloud Corporate.
  2. Create the CRM connection.
  3. Prepare your email system for Riva Cloud Corporate.
  4. Create the email connection.

Synchronization:

  1. Prevent duplicate data.
  2. Configure the sync policy.
  3. Add syncing users for testing.
  4. Confirm the initial sync.
  5. Tweak the sync policy.

Riva Insight:

Finish adding users:

  • After testing Riva Cloud Corporate to your satisfaction, add syncing users until you have consumed all the available license seats.

Now what?

Preliminaries

  1. Ensure that you have your Riva Cloud account set up.
  2. Choose Riva Cloud Corporate mode.
  3. Turn the admin user into a non-syncing, admin-only user.

Preliminaries — Step 1: Ensure That You Have a Riva Cloud Account Set Up

When setting up a Riva Cloud account, it will create the admin user who will manage the connections and sync policies for the syncing users.

Contact us to set up a Riva Cloud account.

Preliminaries — Step 2: Choose Riva Cloud Corporate Mode

After setting up your account, you see the Riva Cloud Get Started page

To choose the Riva Cloud Corporate mode:

  1. On the Riva Cloud Get Started page, select 1. Choose your Mode.

  2. Read the information that appears in Riva Cloud.

  3. Select Corporate mode.

You will need the Riva Cloud login name for the admin user that was created when you set up a Riva Cloud account.

To confirm that Riva Cloud has been set to CORPORATE mode:

  1. Log in to Riva Cloud as your Riva Cloud admin user.

  2. View the account summary.

  3. Ensure that Mode is set to Corporate.

    Riva Cloud. Account Summary. The Mode is in the right column.

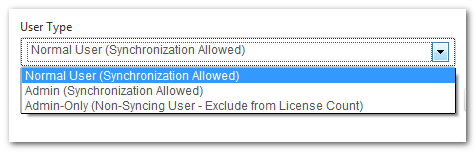
Preliminaries — Step 3: Turn the Admin User into a Non-Syncing, Admin-Only User

  1. Log in to Riva Cloud as the Riva Cloud admin account.

  2. Turn the admin user into a non-syncing, admin-only user.

Connections

  1. Prepare your CRM for Riva Cloud Corporate.
  2. Create the CRM connection.
  3. Prepare your email system for Riva Cloud Corporate.
  4. Create the email connection.

Connections — Step 1: Prepare Your CRM

Connections — Step 2: Create the CRM Connection

The steps to create the CRM connection are the same as for Riva Cloud Company. The only difference is that this connection must use the Riva Cloud Corporate connection user that you created when you prepared your CRM for Riva Cloud Corporate. Do not proceed until you have completed the preparation steps for the CRM connection user.

  1. On the Get Started page, select Configure your CRM.

  2. Select the logo for your CRM to start the corresponding CRM connection wizard. For instructions, select one of the following links:

Connections — Step 3: Prepare Your Email System for Riva Cloud Corporate

Connections — Step 4: Create the Email Connection

The connection must use the Riva Cloud Corporate connection account that you prepared when you prepared your email system for Riva Cloud Corporate. Do not proceed until you have completed the preparation steps for the email connection user.

  1. On the Get Started page, select Configure your email.

  2. Select the logo for your email system to start the corresponding CRM connection wizard. For instructions, select one of the following links:

Synchronization

  1. Prevent duplicate data.
  2. Configure the sync policy.
  3. Add syncing users for testing.
  4. Confirm the initial sync.
  5. Tweak the sync policy.

Synchronization — Step 1: Prevent Duplicate Data

Have you already used the Outlook CRM plug-in to sync data or manually copied CRM calendar or contact data into Exchange? To avoid duplicate entries, see Preventing duplicates: Dealing with Outlook and HCL Notes plug-ins before using Riva Cloud.

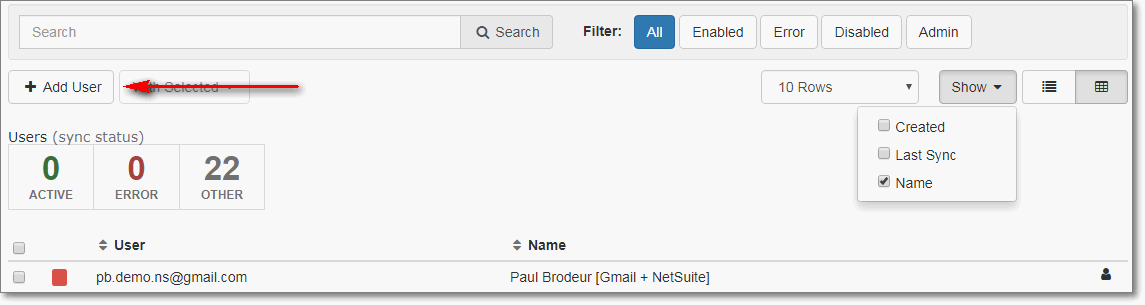
You can also run into duplicate entry problems if you test Riva Cloud and Riva On-Premise against the same email and CRM users at the same time. If your user account has been configured in Riva Cloud or Riva On-Premise before, do not run Riva On-Premise twice against the same user.

Synchronization — Step 2: Configure the Sync Policy

Configure the Corporate synchronization policy that will apply to all syncing users listed in the User Manager. You can configure the sync interval, the category and folder names, and the Riva SmartConvert and AssignTo options.

Synchronization — Step 3: Add Syncing Users for Testing

Only admin users have the Users option available on the menu bar.

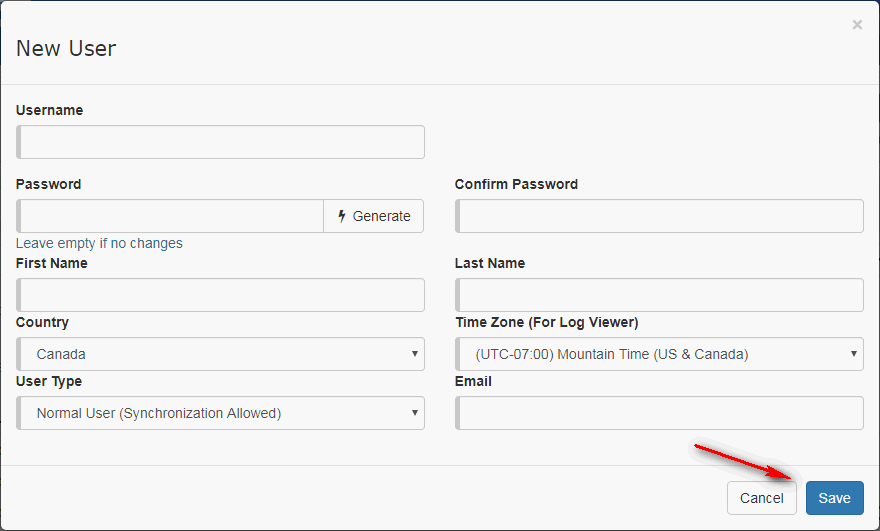
You can add syncing users to your Riva Cloud Corporate account. For trial subscriptions, the limit is a total of five syncing users. For a Paid subscription, the limit matches the total number of user seats purchased in the subscription.

DOUBLE-CHECK: Ensure that you have changed your Riva Cloud mode to Corporate. If you add users without specifically having changed the mode to Corporate, Riva Cloud defaults to Company mode, and you may be billed an admin fee to change the mode from Company to Corporate.

To add users:

  1. Log in to Riva Cloud as an admin user.

  2. On the menu bar, select Users.

    Riva Cloud. On the menu bar, select Users.

    Result: The User Manager appears. The primary user is already listed as a user.

  3. In the top left corner of the User Manager, select Add User.

    Riva Cloud. The User Manager. To add a user, select Add User.

  4. In the New User window, provide the details for the new user.

    Riva Cloud. The User Manager. New User window. This is where you add the details for a new user.

    For the User Type option, select the desired user type:

  5. Select Save.

    Result: The new user appears in the User Manager.

  6. To add more users, repeat steps 2–5.

    Note: After the maximum limit has been reached, the Add User option is no longer visible in the User Manager bar.

Synchronization — Step 4: Confirm the Initial Sync

By default, the admin user is the first syncing user in the User Manager, and the initial sync is performed against those CRM and email accounts. You may want to add a syncing user for testing. As soon as a new user is added to the User Manager, an initial sync is performed for the user on the next sync cycle.

  1. Wait for approximately 15 to 30 minutes.

  2. Log in to the email client for the syncing user, and confirm that the Riva Cloud initial sync has completed:

    • Initial Synchronization: CRM to Exchange.

      • Categories. When your syncing accounts are first initialized, the contacts, appointments, tasks, and phone calls that are synchronized from CRM to Exchange will be assigned the name of the category that you configured in the sync policy. The categories will only be visible in all Exchange email clients that support categories. Depending on the version of Outlook or email client, the category is created in the user account. If the category was not automatically created during the initialization process, add the category to the Master Category List.

      • Category colours. If you want to differentiate CRM appointments, tasks, phone calls, and tasks based on category colours, add the category to the Master list and assign the colour.

      • Drop folders. The drop folder structure for opportunities, cases, projects, quotes, etc., will be created in the mailbox, and the most current items will be synchronized into that folder structure.

Synchronization — Step 5: Tweak the Sync Policy

Test syncing users can perform sync testing and use the results to tweak option settings in the sync policy. After your initial tests have been completed and the sync policy tweaking has been completed, other users can be added and the Riva Cloud subscription can be managed. For detailed instructions, see Admin guide: Riva Cloud Corporate.

Riva Insight

Finish Adding Users

  • After testing Riva Cloud Corporate to your satisfaction, add syncing users until you have consumed all the available license seats.

Now What?

Article ID: 591
Last updated: 20 Sep, 2022
Revision: 44
Views: 8498