This article focuses on the proper steps required to add target users to a Riva sync policy for GroupWise that uses a Enterprise GroupWise connection that will use impersonation. Use the following procedures to add target users:
Step 1 - Prepare the Target Email and CRM User Accounts
Prior to adding a new target user to a Riva sync policy for GroupWise ensure that you:
Prepare and Test Target User Email Account(s)
Perform the following tasks:
-
Prepare the target user account in the GroupWise post office:
- Create an eDirectory user and enable the GroupWise account.
- Ensure that the user has logged into the email account at least once to create the default directory structure in the mailbox.
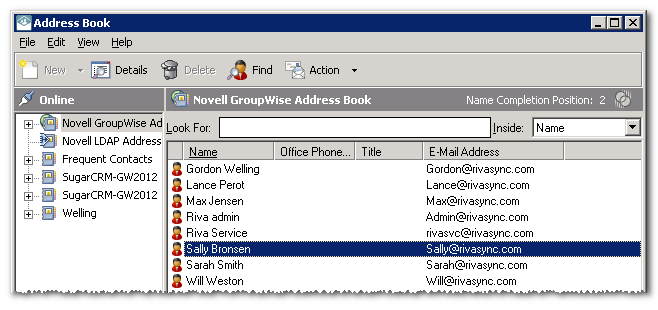
- Ensure that the primary email address value matches the primary email address assigned to the corresponding CRM user (check the value in the eDirectory user using ConsoleOne and the GroupWise address book)

-
Ensure that the Riva connection user for the Enterprise GroupWise connection can impersonate the target user. In the Riva Manager application, under "Setup", open the corresponding Direct GroupWise connection and perform a "Test Connection" for the new target user. It should pass the test.
Prepare the Target CRM User Accounts
Perform the following tasks:
-
Confirm the target user account in the corresponding CRM system:
- Edit the new target user in the CRM system.
- Ensure that the primary email account value for the CRM account is identical to the primary email account value in the corresponding target user's GroupWise account.
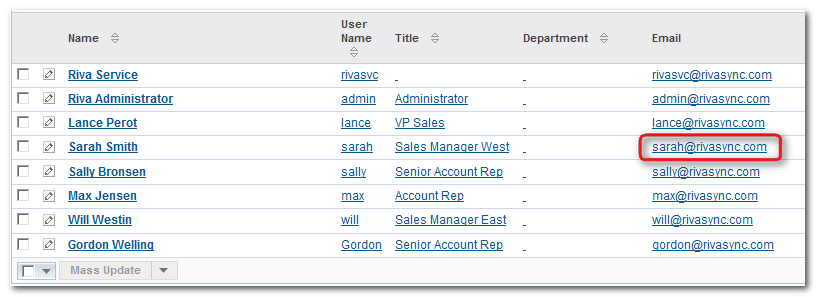
- Ensure that the user has logged into the CRM account at least once.
-
Ensure that the Riva connection user to the target CRM system can impersonate into the new target user.
- In the Riva Manager application, under "Setup", open the corresponding CRM system connection.
- Under "Test Connection", provide the user name of the new target user and test the connection. If the connection test passes, the target user account is correctly configured.
Step 2 - Adjust the Riva License
Prior to adding new target users, confirm if additional license counts need to be purchased.
- In the Riva application, under "Policies", right-click the corresponding CRM sync policy and select "License Details".
- Confirm if there are any unused user license counts. You need one unused email system license count and one unused CRM system license count per additional target user.
- Close the "License Details" window.
- If additional license counts need to be added, contact the Riva License Team.
Step 3 - Add Target Users to the Sync Policy
The steps are slightly different:
Add Users to a New Riva Sync Policy
This procedure assumes that you have just created the new Riva sync policy and need to add one or two target users:
-
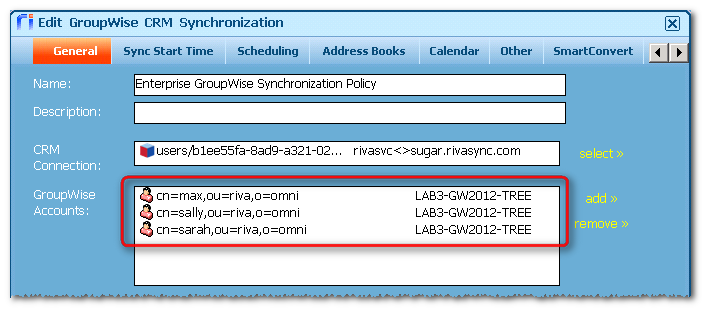
In the edit sync policy window for the new Riva sync policy, under the "General" tab, click the add >> link.
-
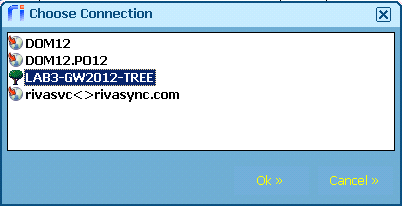
Select the eDirectory Tree connection object from the list.
-
In the "eDirectory Tree Browser" window, expand the connection object and check which users to add.
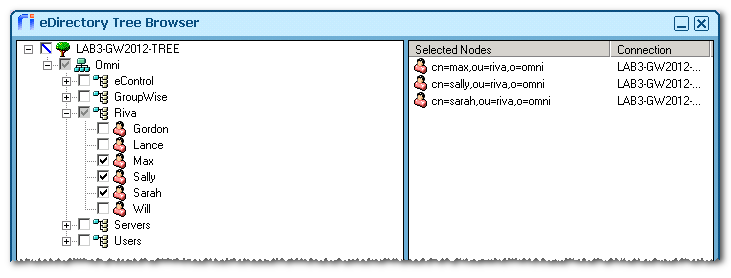
Once all target users are selected, click Ok >>.
-
Confirm that the users have been added to the target users list.
-
Continue with configuring the rest of the sync policy options.
Add Users to an Existing Riva Sync Policy
This procedure assumes that you need to add additional target users to an existing Riva sync policy:
-
In the Riva Manager application, under "Policies", edit the corresponding CRM sync policy.
-
Under the "General" tab, click the add >> link.
-
Select the eDirectory Tree connection object from the list.

-
In the "eDirectory Tree Browser" window, expand the connection object and check which users to add.

Once all target users are selected, click Ok >>.
-
Confirm that the users have been added to the target users list.

-
Save the Riva sync policy.
-
Answer "Yes" if prompted to restart the Riva CRM Agent service.
-
In the Riva CRM Monitor application, verify the the new target users have been added to the target user sync queue.
-
For each new target user, view the Monitor Activity window and confirm that there are no license errors, no connection errors, and that a full initial sync is completed.
