|
Article ID: 415
Last updated: 21 Sep, 2022
This article describes how to prepare GoldMine and the Riva server to support a Riva impersonation CRM connection to GoldMine. To prepare GoldMine for Riva:
Step 1: Prepare the Host Windows SystemRiva server can be installed on any Windows system that meets the system requirements — 32-bit Windows is preferred. Riva can be installed:
Confirm that you can log in to the GoldMine application by using a master account and a normal user account. Step 2: Prepare the GoldMine InstallationsGoldMine versions 8.5,+, 9+, 2013+ and above have been tested for Riva CRM integration. More GoldMine-specific preparations are required if you install Riva on:
Windows 64-bit system preparationsIf GoldMine and Riva are installed on a Windows 64-bit system, a DLL error may occur when you run the GoldMine connection wizard. This is caused by a 32-bit GoldMine DLL that is not properly registered in Windows. To resolve the issue, register the GMXMLAPI.DLL file. Riva on a GoldMine ServerIf Riva is installed on a GoldMine server, the GoldMine connection wizard works and impersonation tests succeed, but when Riva attempts to sync data to the CRM, connection attempts fail with an error that Riva cannot find the GoldMine license file. This is because the GM.INI files on the GoldMine server and/or the GoldMine client systems are not properly configured to support Riva. To prevent this issue
For the SysDir= line, GoldMine supports both the UNC path and mapped drives. Riva cannot recognize mapped drives and must read the SysDir= as a UNC path.
Riva on a GoldMine client systemIf Riva is installed on a Windows system that is just a GoldMine client system, the GoldMine connection wizard cannot complete unless there is a local GoldMine license file. Place a copy of the license file in the same folder as the local GM.INI file. When Riva attempts to sync data to the CRM, connection attempts fail with an error that Riva cannot find the GoldMine license file on the GoldMine server. This is caused because the GM.INI files on the GoldMine server and/or the GoldMine client systems are not properly configured to support Riva. To prevent this issue:
For the "SysDir=" and "realini=" lines, GoldMine supports both the UNC path and mapped drives. Riva cannot recognize mapped drives and must read both of those paths as a UNC path.
Step 3: Prepare a Riva Connection User Account in GoldMineWhen a single CRM connection is used to synch multiple users, the Riva connection must be configured to use the credentials of a CRM account that has the necessary privileges in the CRM to access the target user accounts. For GoldMine, choose one of the following options:
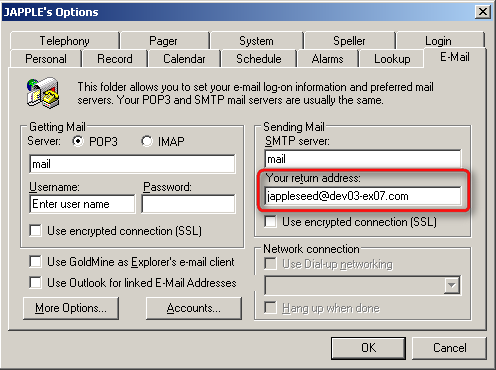
Note that the account must not be an undocked user account. This can be verified in the GoldMine License Manager: Tools > Configure > License Manager. The "master" account provides the privileges required to impersonate each target user and make the necessary changes to records in the CRM for each target user. The Riva connection to GoldMine uses the Enterprise Impersonation Model: When Riva creates new items in the CRM, it assigns ownership to the "target user". Since Riva is now acting on behalf of the target user, all audit fields in the CRM do record the target user as the user that created and modified the item. Riva uses the permissions of the CRM target user to create and modify items and data in the CRM. If the access permissions defined for the target user are not sufficient, the Riva server displays Access denied errors for each data change it tries to synchronize. Ensure that for each target user, permissions are assigned to create, modify, delete, import, and export datatypes that Riva will attempt to sync for that user. Step 4: Prepare the Target User Accounts in GoldMineGoldmine 9+For Riva to support CRM impersonation in GoldMine 9+ systems, ensure that one or both of the following conditions are met:
If neither of those conditions is met, Riva cannot impersonate into the target CRM account in GoldMine, unless the Riva sync policy is configured to use a CSV user mapping file. See Format of a CSV mapping file and Configuring Riva to use the CSV file. GoldMine 8.5 systemsFor GoldMine 8.5 systems, Riva supports CRM impersonation only if the sync policy is configured to use a CSV user mapping file. See Format of a CSV mapping file and Configuring Riva to use the CSV file. Step 5: Gather Information Required for Creating the Riva GoldMine ConnectionGather the following information:
That information is required when you create a Riva connection to the GoldMine system.
Article ID: 415
Last updated: 21 Sep, 2022
Revision: 13
Views: 10437
Also read
Also listed in
|