Audience: Riva administrators and users. This article applies to Riva Cloud and Riva On-Premise.
Issue
A single user notices that their Riva email synchronization has stopped, but the sync log does not display an error.
Cause
There are two possible causes:
- The user has deleted or renamed Outlook folders that are used by Riva.
- The user has moved subfolders out of the Outlook folder structure used by Riva.
Users have the same control over the folder structures set up by Riva as they do with any other items in Outlook. Consequently, Riva sync folders may be inadvertently deleted or moved.
Solution
Terms used in this article
Master CRM folder structure: the folder structure created in Outlook by enabling SmartConvert in the Riva synchronization policy.
Broken CRM folder structure: a master CRM folder structure in Outlook that has stopped synchronizing.
Note: If you use Email SmartConvert and AssignTo, they must remain enabled in your synchronization policy to re-create the appropriate folders.
- SmartConvert is available in Riva Cloud Standard and Premium subscriptions, as well as in Riva On-Premise.
- AssignTo is available in Riva Cloud Premium subscriptions, as well as in Riva On-Premise.
Follow the procedure that applies to your environment.
Solution for Riva Cloud
Summary:
- After creating a backup folder outside the broken CRM folder structure, the user can drag and drop emails to be backed up. The user can then delete the broken CRM folder structure.
- Riva will automatically re-create the folder structure during the next sync cycle. Emails saved to a backup folder can then be placed back into the “Create New Email” subfolder. Riva will then resume synchronizing emails with the appropriate CRM category and modules.
Detailed steps:
-
In Riva, double-check the name of the broken CRM folder and ensure that SmartConvert is enabled, as follows:
-
Log in to https://www.rivacloud.com/live.
-
Near the bottom right corner, select Edit Policy.
.png)
-
On the Synchronization Policy Settings page, select the Configuration tab.
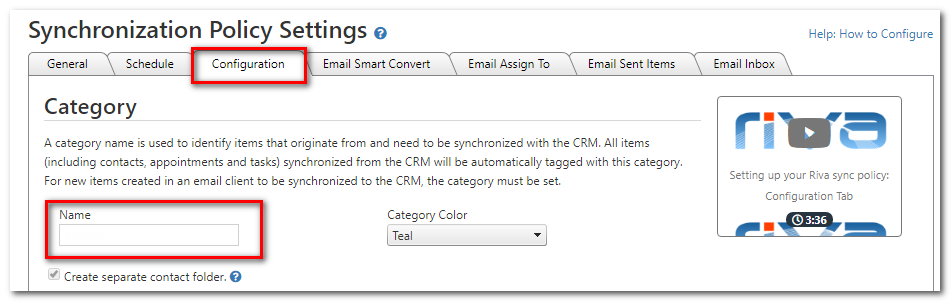
Note: Typically, this folder has the same name as the CRM.
-
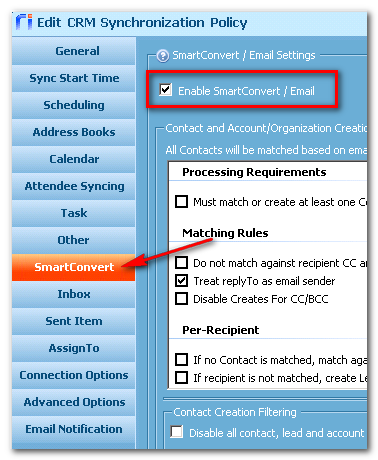
Select the Email SmartConvert tab, and ensure that SmartConvert is enabled.
-
Select Save.
-
In Outlook, create a backup folder outside the broken CRM folder structure, as follows:
-
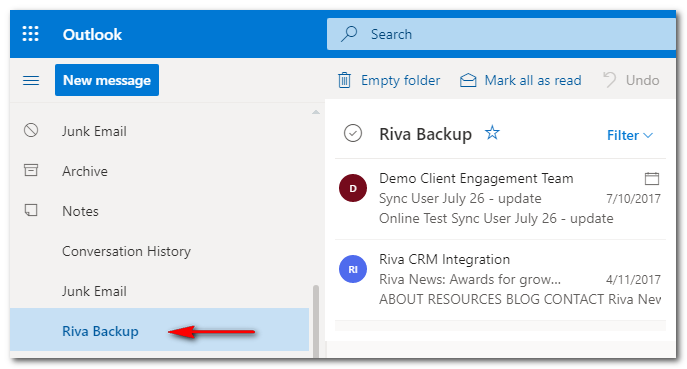
In Outlook, right-click Folders and choose Create New Folder.

-
Name this folder “Riva Backup”.
-
Drag and drop all emails from the broken CRM folder structure to the new backup folder. Additionally, remember to back up any emails in the “Create New Email” subfolders that have not yet been processed by Riva.
-
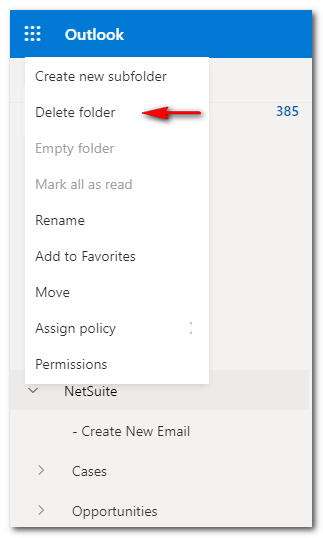
Right-click the broken CRM folder, and choose Delete folder.
-
In Riva, wait for one full sync cycle.
Result: The correct folder structure is created by Riva.
-
In Outlook, drag and drop the emails from the Riva Backup folder into the Create New Email subfolder under your master CRM folder.
If emails stopped syncing because a subfolder was moved out of the broken CRM folder structure, the emails in that moved folder may be also dropped back into the new Riva Create New Email subfolder. The emails will then sync to the CRM, based on the type of modules enabled in the policy (Contacts, Leads, Accounts).
If AssignTo is enabled, Riva will detect the applicable modules (Cases, Contracts, Opportunities), re-create the corresponding subfolders, and synchronize the emails in accordance with the sync policy.
Solution for Riva On-Premise
The solution for Riva On-Premise is identical with the solution for Riva Cloud, except for step 1. This step is performed as follows for Riva On-Premise:
-
For information on how to access your CRM folder name, see Configure the Parent folder name for module setting and Parent folder name for AssignTo folders. This value is the Address Book category/Name box found in the Address Books tab of your sync policy.
-
SmartConvert can be accessed by opening the sync policy and selecting the SmartConvert tab. Ensure that the Enable SmartConvert / Email check box is selected to re-create your CRM folder structure.