Riva CRM Integration - Documentation and Knowledge Base

How to Apply Advanced Options to an Exchange Connection in Riva

Article ID: 2047
Last updated: 21 Dec, 2023
Applies to Riva Cloud and Riva On-Premise.

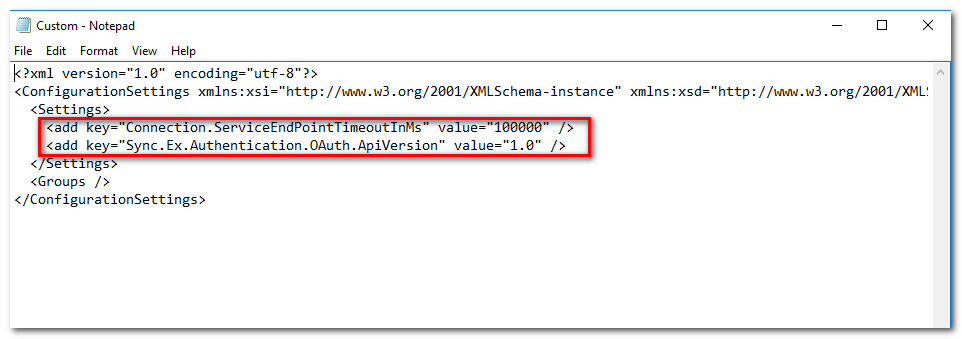
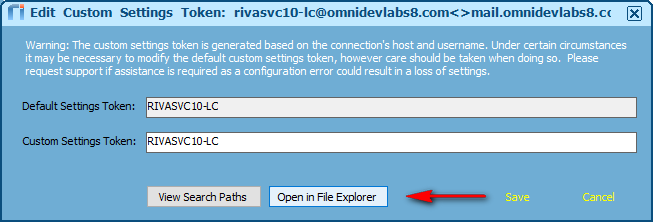
Advanced and custom options can be applied to a sync policy, a CRM connection, an email connection, or a user (entity).

Procedure for Riva Cloud

To apply advanced or custom options to an Exchange connection:

Procedure for Riva On-Premise

To apply advanced or custom options to an Exchange connection:

  1. In services.msc, stop the Omni Riva sync service.

  2. In the Riva Manager application, right-click the appropriate Exchange connection and choose Edit Custom Settings Token.

  3. On the Edit Custom Settings Token window that appears, click Open in File Explorer.

  4. On the Edit Custom Settings Token window, select Cancel.

    Note: Selecting Save on this window at any time would erase any changes you had made to the Custom.settings file. We recommend selecting Cancel now to avoid that mishap.

  5. In Windows Explorer, find the Custom.settings file, and create a backup of that file.

  6. Open the Custom.settings file. If the file does not exist, create a file and copy the default contents into the new .config file.

  7. Add the keys using a binary text editor (such as Notepad), and save the file.

  8. Start the Riva Service Monitor, and start the Omni Riva sync service.

    Expected result: The advanced option is applied to the Exchange connection.

This article was:   Helpful | Not helpful
Report an issue
Article ID: 2047
Last updated: 21 Dec, 2023
Revision: 41
Views: 0
Comments: 0
Also listed in