Audience: End users who want to install the addin directly into Outlook
To install the Riva Insight Outlook Web Add-in from Outlook Desktop on Windows or Mac:
-
In Outlook, on the Home ribbon, select  Store Add-ins.
-
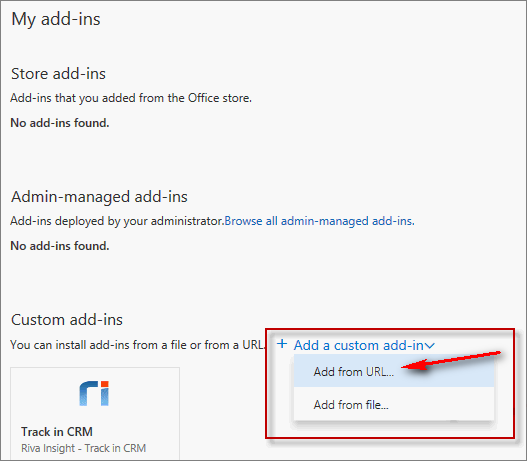
On the left menu, select My add-ins.
-
Under Custom add-ins, select Add a custom add-in, and then choose Add from URL.
-
Enter one of the URLs listed at https://kb.omni-ts.com/entry/1999/#To-obtain-the-Riva-Insight-Outlook-Web-add-in--use-one-of-the-following-URLs. Ensure that HTTPS:// is included when adding the URL.
-
In the window, select Install.
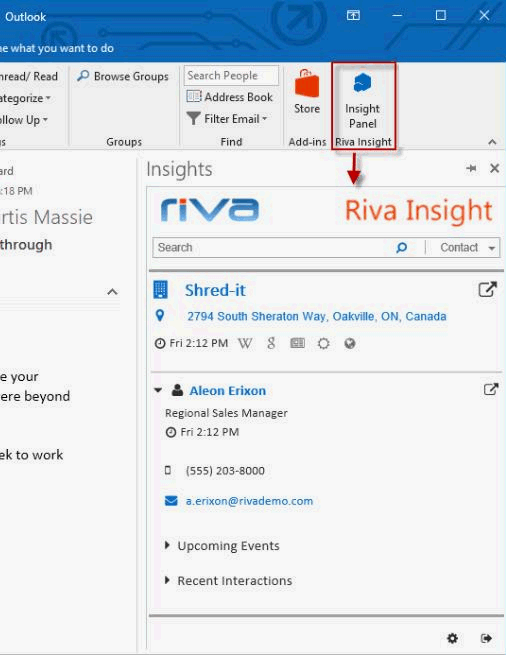
The add-in appears under Custom add-ins.
-
Close the Add-ins window.
In Outlook, a Riva Insight icon appears in the toolbar.
To install the Riva Insight Outlook Web add-in from Office 365 or Outlook.com web (browser) based clients:
-
Log in to Office 365 Outlook.
-
Open any email.
-
In the top right of the email, in the Actions bar, select the ellipses: [...].
-
Near the bottom, select Get Add-ins.
-
In the window that appears, near the top left, select My add-ins.
-
At the bottom, select Add a custom add-in, and choose Add from URL.
-
Enter one of the URLs listed at https://kb.omni-ts.com/entry/1999/#To-obtain-the-Riva-Insight-Outlook-Web-add-in--use-one-of-the-following-URLs.
Expected result: The add-in appears.
-
If you do not see the add-in, refresh the browser tab.
