|
Article ID: 1107
Last updated: 09 Mar, 2020
Riva Cloud and Riva On-Premise can use custom Outlook categories against emails and events to trigger workflows in Salesforce. Contents: Implementation for Riva CloudImplementation for Riva On-Premise
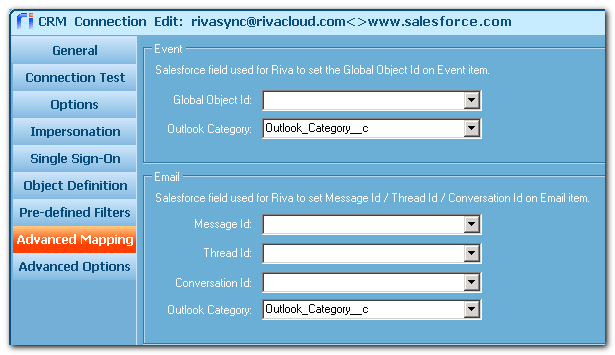
OverviewRiva On-Premise 2.4.37 or higher for Salesforce (Event Relations enabled) includes two fields for mapping custom Outlook categories for events and email.
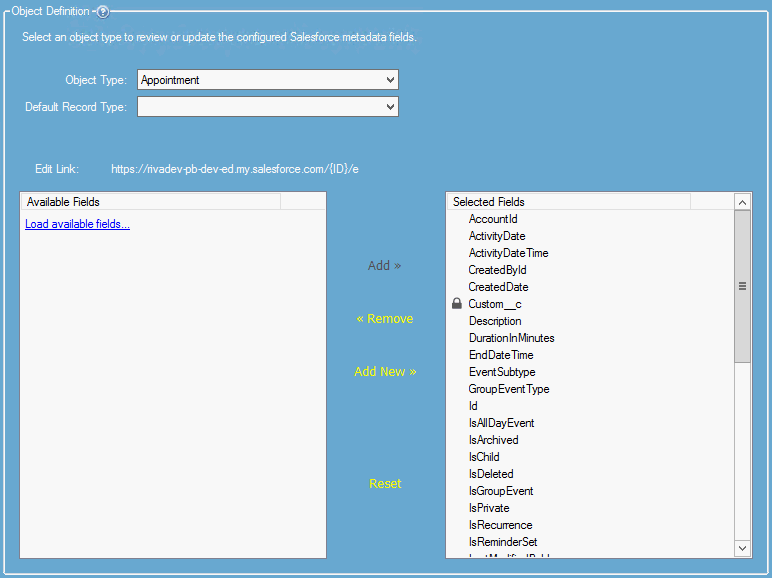
The customer Salesforce admin would add custom fields to contain the value for the custom Outlook category (for example, Outlook_Category__c) and then would be able to build workflows based on those values. Implementation for Riva On-Premise 2.4.47 or higherTo map the Salesforce custom fields:
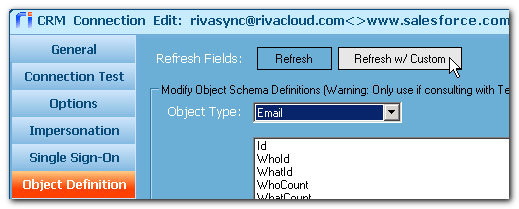
Implementation for Riva On-Premise 2.4.37 through 2.4.46To map the Salesforce custom fields:
Resulting advanced option(s) on the Advanced Options tabPerforming either procedure causes Riva to set the following advanced option for one or more modules:
Applies to
This article was:
Helpful |
Not helpful
Report an issue
Article ID: 1107
Last updated: 09 Mar, 2020
Revision: 5
Views: 6660
Comments: 0
Also listed in
|