Riva Cloud admin users for COMPANY and CORPORATE subscriptions can manage their Riva Cloud subscription details.
View the Account Summary
To access the account summary for your Riva Cloud subscription:
-
On the side navigation bar, select the dropdown arrow beside Manage Account, and then choose Account Summary.
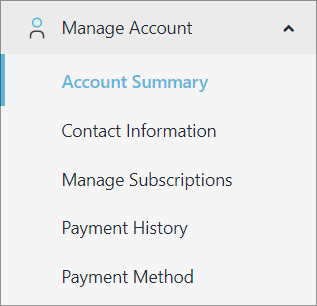
The account summary appears.
.png)
Data residency region, configuration pod, and mode
For information and troubleshooting purposes, the Account Summary displays the data residency region, configuration pod, and mode.
To view your Riva Cloud synchronization information:
View Contact Information
To access the contact information for your Riva Cloud subscription:
-
On the side navigation bar, select the dropdown arrow beside Manage Account, and then choose Contact Information.
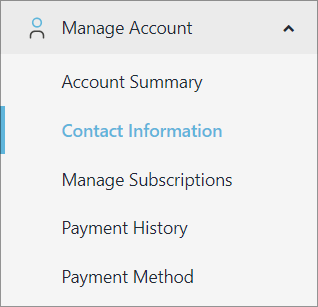
Riva Cloud displays the active contacts and all contacts. If you have permissions, you can modify the active contacts and add contacts in the All Contacts section.
Active Contacts:
-
Billing Contact: Receives invoices and payment notifications.
-
Technical Contact: Receives Riva Cloud release notices, maintenance alerts, and key product notices.
Note: The billing and technical contacts can be the same person.
-
Additional Billing Email Addresses: Additional email addresses to send invoices to. Separate the addresses with commas.
All Contacts:
In the list of all contacts, the billing and technical contacts are respectively labeled Billing and Technical.
Security
Change the Riva Cloud Admin User password
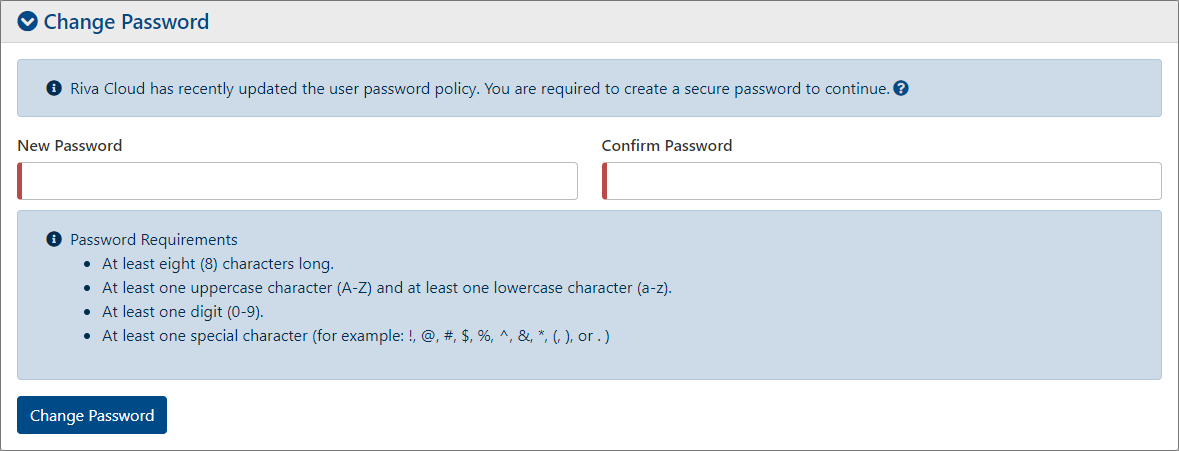
Note: You are required to create a secure password.
To change the Riva Cloud admin user password:
-
On the side navigation bar, select the dropdown arrow beside Security, and then select Authentication.
-
On the Authentication page, select the Change Password dropdown that appears. Follow the instructions to create a secure password, confirm it, and select Change Password.
Authenticate with Google
Authenticate with SAML
View the Audit Summary
View or Edit the Billing Details
Manage Online Payment Options
To manage online payment options:
-
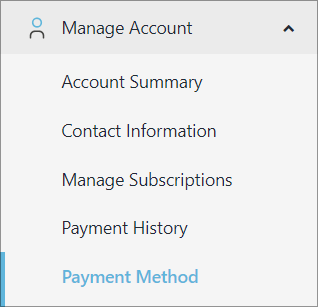
On the side navigation bar, select the dropdown beside Manage Account. and select Payment Method.
-
On the page that appears, enter a new payment method, select the current default payment method, and/or update an existing payment method. For instructions, see Setting the payment methods.
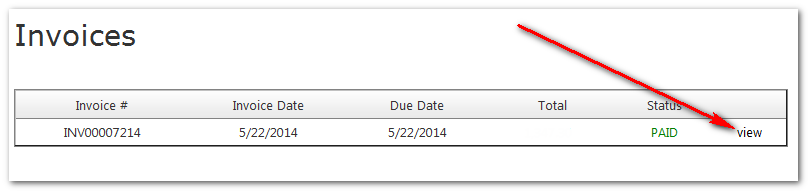
View Account Invoices
To view account invoices:
-
On the side navigation bar, select the dropdown arrow beside Manage Account, and select Payment History.
From this page, you see all the invoices issued since the initial subscription and the status of each invoice, and you can view an invoice as a PDF file so that you can save it or print it for your records.
Change the Number of Licensed Users
Increase the number of licensed users
To add licensed users to the Riva Cloud subscription:
-
On the side navigation bar, select the dropdown beside Manage Account. and select Manage Subscriptions.
-
Specify the number of users to add.
-
Verify that the Total User Count after Change has increased to show the new value.
-
Select Add Users to Subscription.
.png)
Riva Cloud processes this change by calculating a pro-rated value for the number of users for the number of days remaining for the current billing period. The credit card specified in the Payment Method will be billed immediately. The next regular billing period will be modified to increase the charge to include the additional users added.
Decrease the number of licensed users
There are no means available in Manage Account to reduce the number of licensed users.
To reduce the user count and corresponding billing, do one of the following:
- On the Riva Cloud page, select Contact Us, and either
- Look up a phone number to call us, and select the Billing department to request the change; or
- Fill out the Contact the Riva Success Team form to request the change. Be sure to indicate the login user name of the admin user for the Riva Cloud subscription; or
- Send an email to billing@rivasync.com to request the change. Be sure to indicate the login user name of the admin user for the Riva Cloud subscription.
Cancel the subscription
Important to know before you cancel:
- You will receive an email to confirm the cancellation.
- There are no refunds for partial months or for unused services.
- You can log in and administer your account up to the end of your subscription. During that time, your data will continue syncing.
- As of the cancellation date, you and your users will not be able to log in to https://www.rivacloud.com, data will cease syncing for all users in the subscription, and all user sync records will be removed.
- You are welcome to re-subscribe later, but you will not be eligible for another trial subscription of the service.
- If your payments are overdue, you need to contact Riva Billing to process your cancellation. If your payments are in good standing, you can cancel the subscription, as per the following procedure.
To cancel a Riva Cloud subscription:
-
Log in to https://www.rivacloud.com as the admin user.
-
On the top navigation menu, select the dropdown arrow beside Manage Account, and then select Manage Subscriptions.
-
On the Subscription Details page, select Cancel Subscription.
-
On the Cancel Subscription page, read the cancellation terms and the effective date of your cancellation. If are sure you would like to cancel, select Yes, Proceed with Cancellation.
-
On the next page, provide the details for the individual authorizing the cancellation, and select Next.
-
On the next page, please provide your reason for cancellation and optionally enter a comment, and select Proceed with Cancellation.
The next page displays a confirmation message.
.png)
