Riva CRM Integration - Documentation and Knowledge Base

NetSuite: "Lists ->" Permission Errors

Article ID: 575
Last updated: 20 Oct, 2016

Issue

Riva Cloud or Riva On-Premise may fail to sync to target users and report an error in the CRM Monitor or in sync logs similar to this sample:

(Exchange > CRM) Synchronizing Contacts
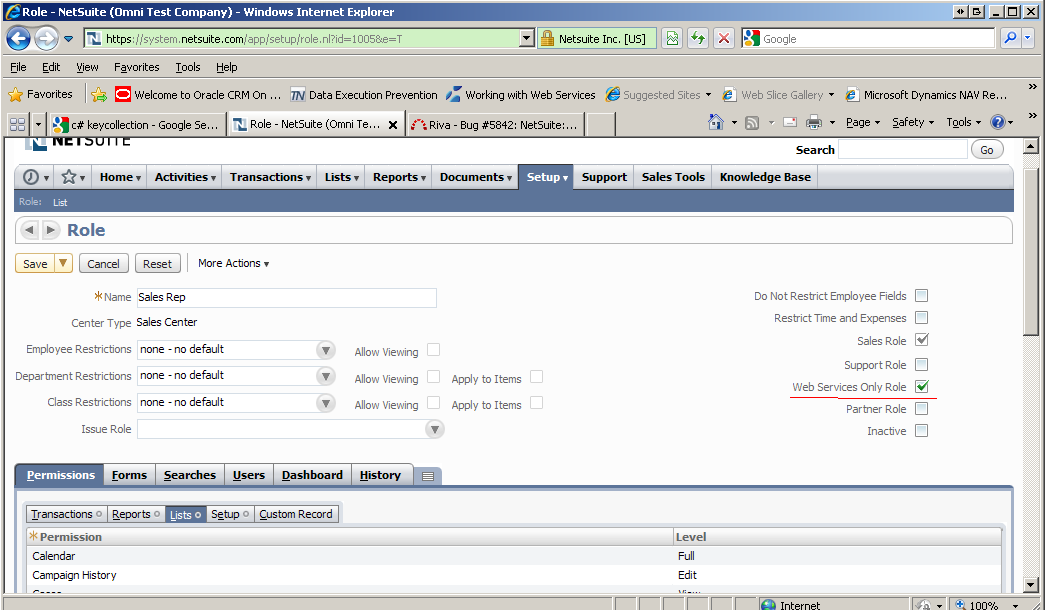
User does not hold the necessary privileges to perform this operation, [CODE=INSUFFICIENT_PERMISSION] Permission Violation:  You need the 'Lists -> Employees' permission to access this page.  Please contact your account administrator.  Please Check User's permission

In "Lists -> [Name]", "[Name]" indicates the list table that the target user needs to access. This error indicates that Riva is unable to access or modify the contacts list assigned to the target user.

Solution

Create a role that is configured for "webservices only" with sufficient permissions for Riva Cloud or Riva On-Premise to sync. Assign this role to every user. But, because it is a "webservices only" role, it is not available to users who use the NetSuite login process. However, this is the role that Riva uses to connect to NetSuite and do the sync operations.

  1. Log in to NetSuite with an administrator user.

  2. Select the Setup tab, navigate to Users/Roles -> Manager Roles -> New, and create a new role called Riva Sync Role (or any other name you prefer).

  3. Assign the List->Employees permission to this role, and check the Web Services Only Role. Save it.

  4. In the Setup tab, navigate to Users/Roles -> Manage Users. Select the user(s) you want Riva to sync. Select the Access tab, and add the newly created role to this user. Save the changes. 

    This user now has two roles (or more). The previous role is the role that is enforced when the user logs into NetSuite. The second role does not apply to a logged-in user; it applies only to an application like Riva that uses web services to communicate with NetSuite. Riva uses this role when connecting to NetSuite and syncing user information.

  5. Select the Setup tab, navigate to Users/Roles, open the roles list, and obtain the new role's internal id.

  6. Edit the NetSuite connection. Select the Options tab. In the Override Role ID field, set the roleId number. Save the connection.

  7. Restart the sync service.

Applies to

  • Riva Cloud for NetSuite and Exchange or GroupWise.
  • Riva On-Premise for NetSuite and Exchange or GroupWise.

This article was:   Helpful | Not helpful
Report an issue
Article ID: 575
Last updated: 20 Oct, 2016
Revision: 2
Views: 13618
Comments: 0
Also listed in