|
Article ID: 2416
Last updated: 03 Oct, 2023
Rather than having to constantly go back and forth between the Riva Insight Bookings Portal and Outlook whenever you need book meetings, there is an Outlook Web Add-In experience available for a more streamlined user experience. For customers using the Windows Add-in, click here. Contents: Overview
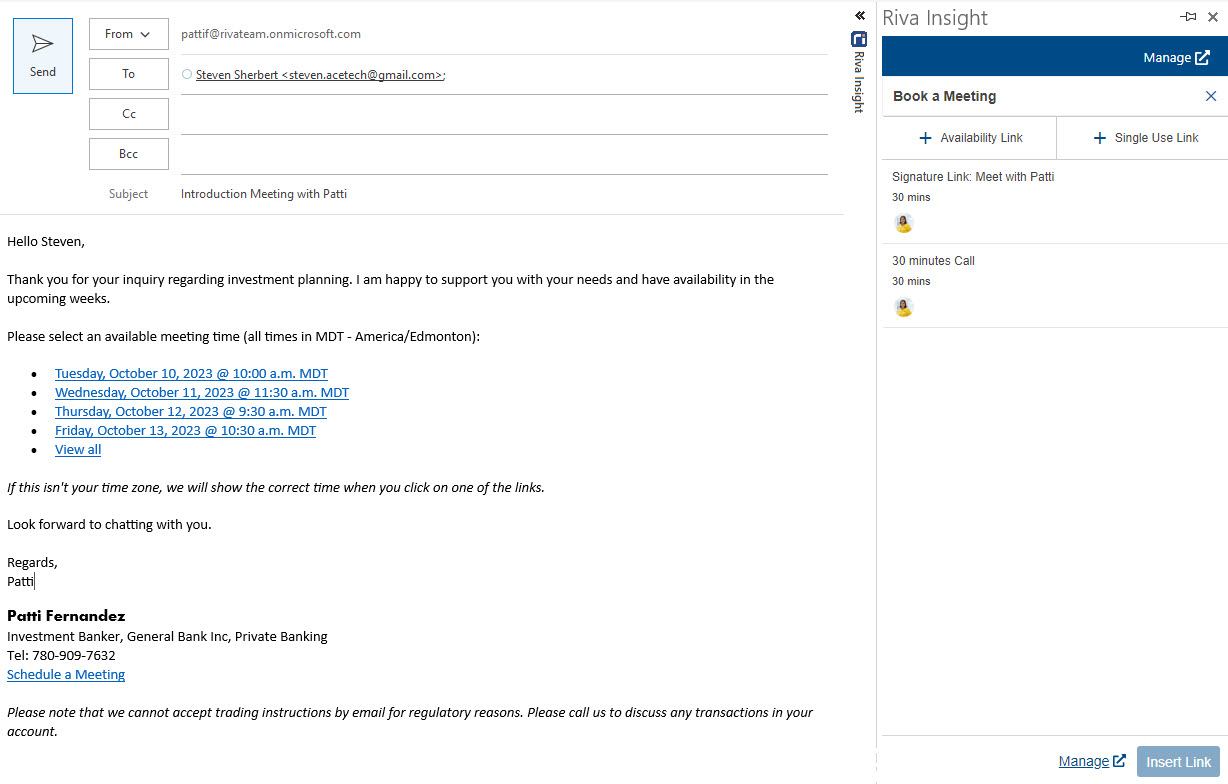
Once you or your organization has added the add-in to your mailbox you will be able to open the add-in:
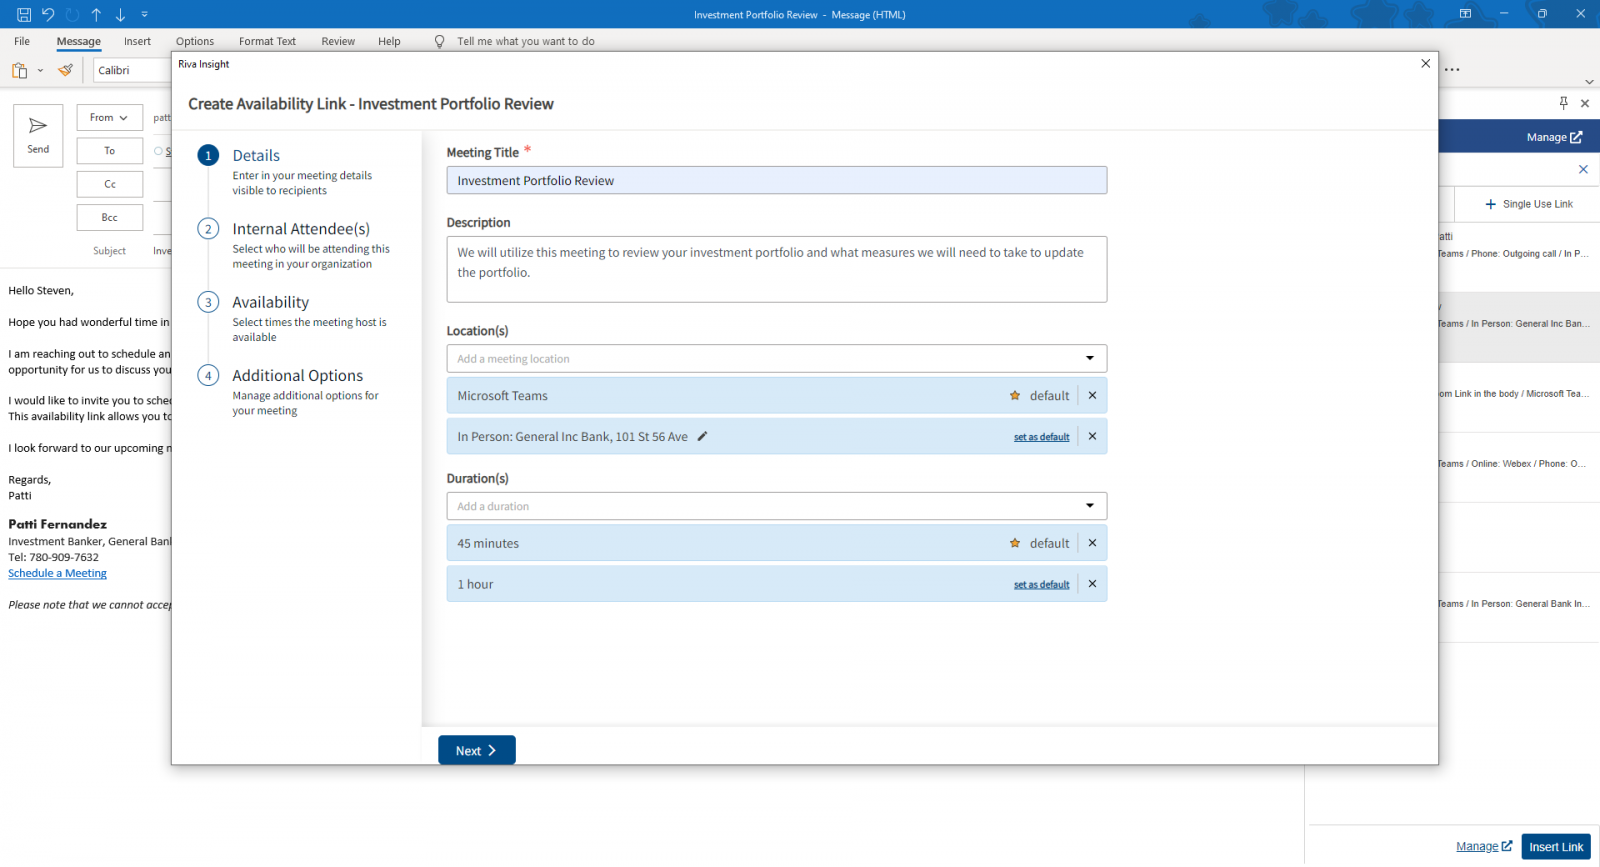
If you would like to ensure that the add-in stays open rather than have it close each time you select a new email or change context, you can pin the add-in as shown below. Furthermore, clicking on the "Manage" link will open up a new tab in the browser and log you into your web portal. Create a new Availability Link or a Single Use LinkUnlike the Windows add-in, the web add-in experience allows you to create new links directly from Outlook rather than having to do it through the web portal. To add an availability link, click on "+ Availability Link". This will open up a modal within Outlook and the experience is exactly the same as how you would create a new availability link from the web portal.
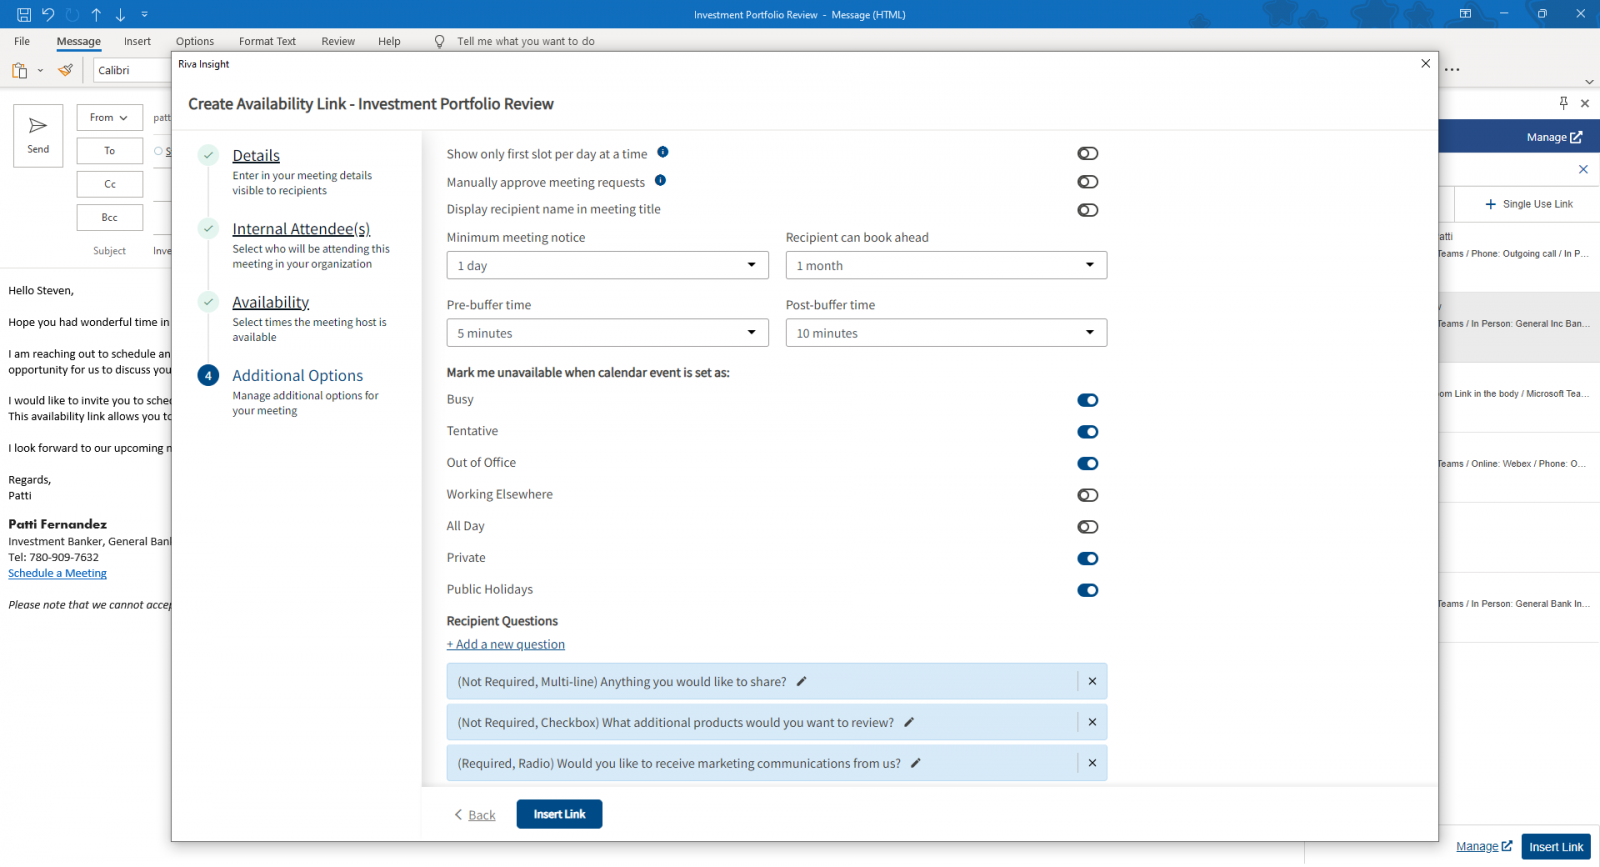
Once you get to step 4, you will be able to click on "Insert Link", which will insert the "Book a Meeting" link where your cursor was in the email body previously. The link will also be saved so that you can use it next time.
To add a "Single Use Link", click on "+ Single Use Link". Again, this will open up a modal within Outlook and the experience is exactly the same as how you would create a new single use link from the web portal.
You can then click on "Insert Link" which will insert your selected availability slots where your cursor was in the email body previously.
This article was:
Helpful |
Not helpful
Report an issue
Article ID: 2416
Last updated: 03 Oct, 2023
Revision: 8
Views: 0
Comments: 0
|