To create and test an OAuth-based Riva Google connection:
- Ensure that the system requirements are met.
- Create a Google connection that relies on OAuth.
- Test the OAuth-based Google connection.
Step 1: Ensure That the System Requirements Are Met
-
Supported Google Versions: G Suite Business, G Suite for Education, G Suite Basic, and Gmail.
-
Google Web Services: Riva connects to Google Web Service via API to establish a connection.
-
Riva Connection Mailbox User: Riva requires a fully enabled Google Administrator account and a Google Developer account to establish a connection.
Step 2: Create a Google Connection that Relies on OAuth
A Google connection that uses OAuth cannot impersonate into other connections. It is a direct connection for one user. In a Riva Google deployment, every OAuth user has an individual connection.
This step describes how to create and test an OAuth-based Google connection from within the Riva Manager application. For enterprise Riva clients, there is an alternative: for information,
contact the Riva Success Team.
To create and configure an OAuth-based Google connection within the Riva Manager application:
-
Open the Riva Manager application.
-
If your version of Riva has a horizontal menu bar, select Setup.
-
In the left pane, below Connections, select Add Email, and then choose Google from the drop-down list.
-
On the wizard's Welcome page, select Next.
-
Select OAuth.
If you select Service Account, refer to the instructions at Create and test a Riva Enterprise Google connection.
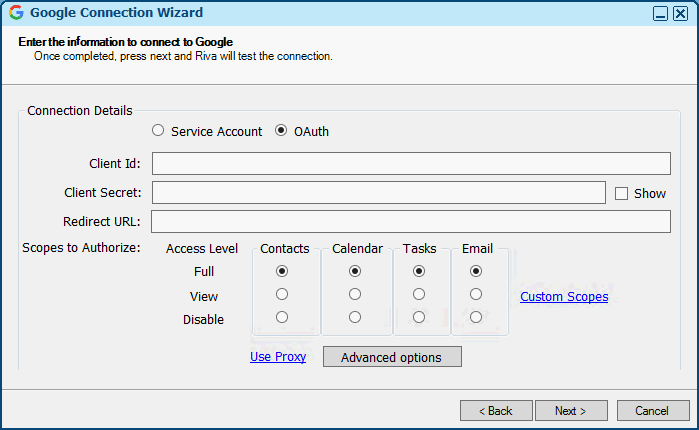
-
Select Next.
-
In the windows that appear, provide your Google credentials.
-
In the window titled [your first name] would like to, select Allow.
-
On the wizard's last page, select Finish.
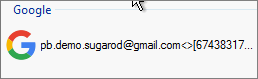
The Riva Manager application generates a Google connection object.
Step 3: Test an OAuth-Based Google Connection
To test the connection:
-
If your version of Riva has a horizontal menu bar, select Setup.
-
In any version of Riva, in the right pane, double-click the Google connection to edit it.
-
Select General, and confirm that the connection credentials look correct.
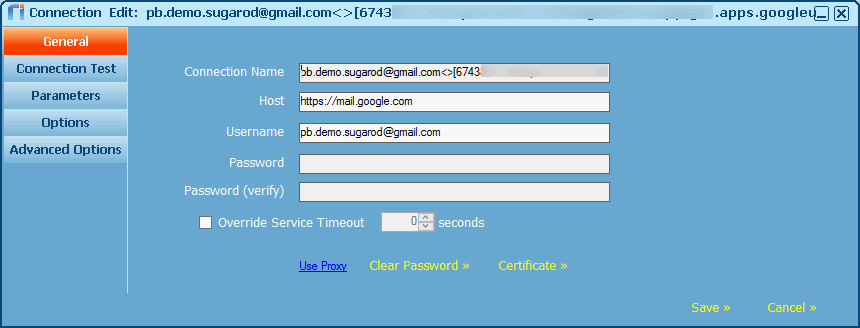
-
To test the Riva connection user: Select Connection Test. Note that the User E-mail text box already contains the email address and is read-only. Select Run Test.
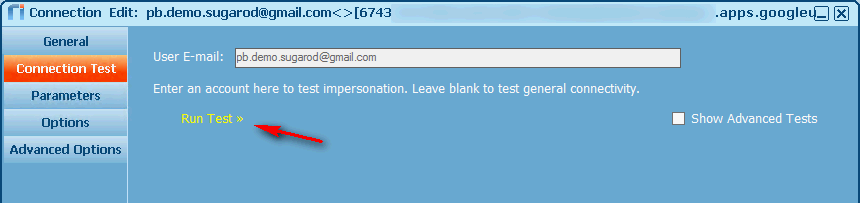
The system tests that the connection host and credentials work.
-
In the Test Succeeded message box that appears, select OK.
-
In the bottom right corner, select Cancel to close the CRM Connection Edit window.
Tip: Riva administrators who need to troubleshoot can use these connection tests to confirm that the Riva connection to Google is working.
