|
Article ID: 1284
Last updated: 29 Aug, 2018
Contents:
Add and Configure New Target Users in Riva Cloud CompanyAdding a new target user actually creates a new Riva Cloud Company account that can be configured with its own CRM and email connections and its own sync policy. The Riva Cloud Company admin user can create new users and also impersonate into a user to set up the connections and sync policy for that user. To add a user to Riva Cloud Company:
After a user has been addedEvery user in the User Manager needs to be configured with a CRM connection, an email connection, and a sync policy before Riva Cloud Company can sync data for that user. There are two ways to configure the target users in Riva Cloud Company:
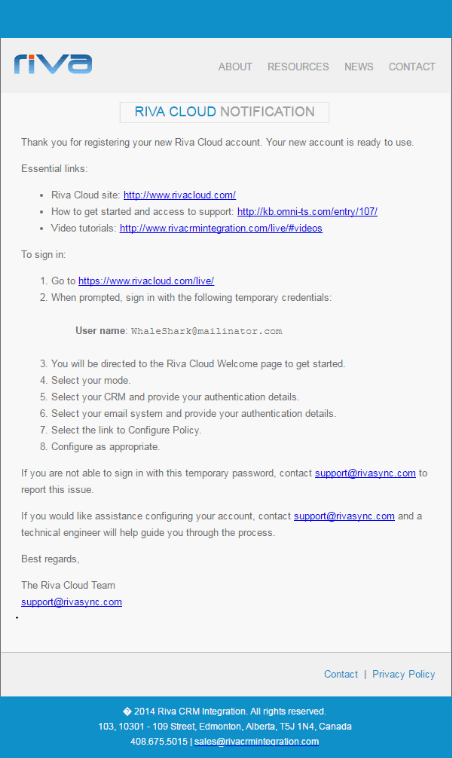
Individual Riva Cloud Company users configure their own individual connections and sync policyRiva Cloud Company admins can choose to let the target users configure their own connections and sync policy. If the Send Welcome Email option is set to To user, every target user receives an email from Riva Cloud Company specifying an individual account name and a randomly generated one-time use password.
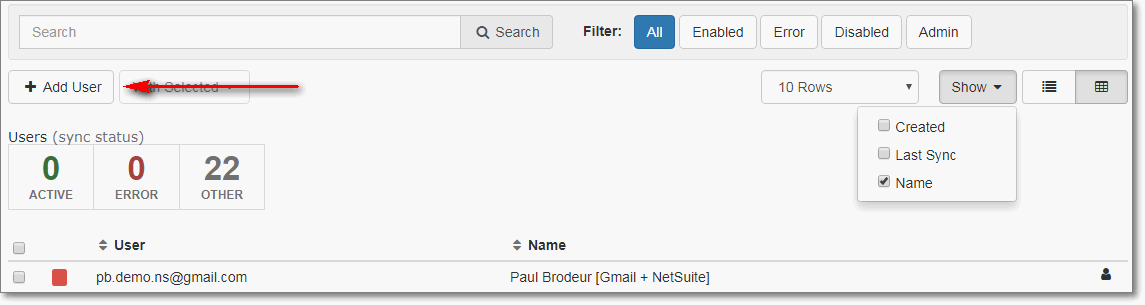
The individual users can log in to Riva Cloud (https://www.rivacloud.com) and set up their own Riva Cloud sync. The Riva Cloud Company admin user configures the target usersA Riva Cloud Company administrator can impersonate each target user and configure the user's connections and sync policy. The Riva Cloud Company admin needs the login credentials for each target user's CRM and email accounts. To configure target users in Riva Cloud Company:
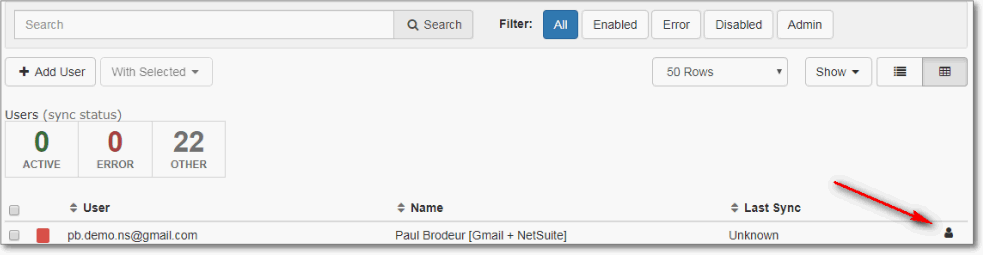
Impersonate and Manage a Specific Target User in Riva Cloud CompanyYou can impersonate a target user who has already been syncing to manage the user's connections and sync policy and to view the user's sync logs. To impersonate a target user:
For all of the instructions to manage a specific user account, see Manage your Riva Cloud Company user subscription. Remove a target user from Riva Cloud CompanyUsers are not normally removed from a Riva Cloud Company account. Riva Cloud Company administrators can instead disable a user, which
Alternative for Riva Cloud Company: At times, you might like to prevent a user from accessing his or her Riva Cloud Company account without stopping the user's data sync. The solution is to change the user's password without telling the user what the new password is.
This article was:
Helpful |
Not helpful
Report an issue
Article ID: 1284
Last updated: 29 Aug, 2018
Revision: 24
Views: 5588
Comments: 0
|

.png)
