|
Article ID: 1522
Last updated: 23 May, 2018
Applies to all Riva Cloud modes. Contents:
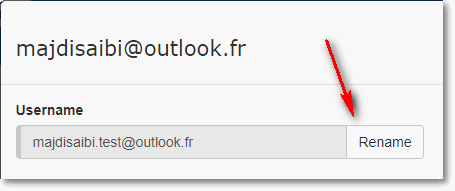
Change the User Name
Change the User Login PasswordThe Riva Cloud admin account can reset a password for a target user. The reset password is not emailed to the target user. Tip: Changing the password in this manner is the way to prevent users from accessing their Riva Cloud accounts while leaving the users enabled. To change a user login password:
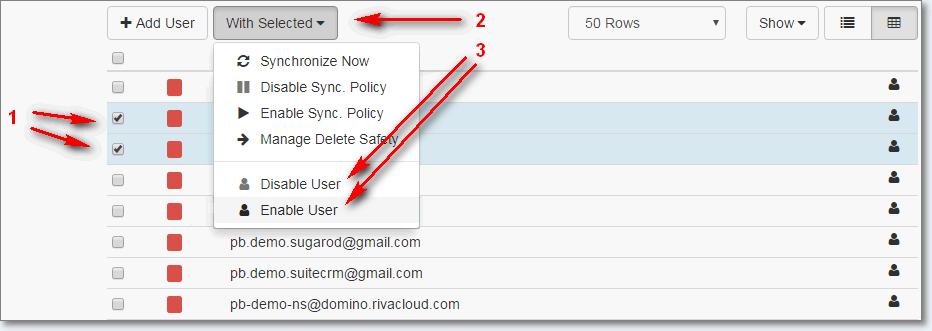
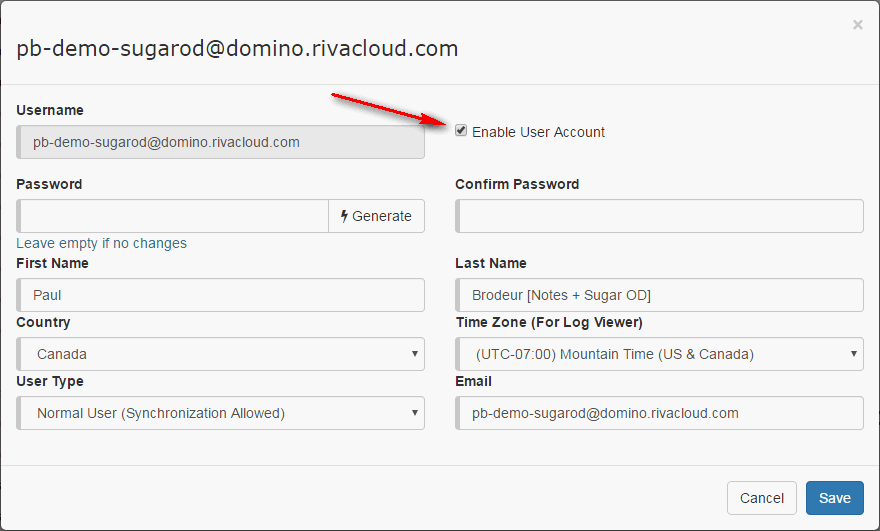
Enable or Disable a User AccountDisabled users cannot log in to their Riva Cloud accounts, and their sync policies are disabled. You can temporarily disable or re-enable user accounts in two ways: To enable or disable one user account at a time:
To enable or disable multiple user accounts at a time:
Unlock a Locked UserTo prevent brute force attacks against your Riva Cloud account, a user is locked out after eight failed login attempts in a row. After verifying that it was really one of your users who failed to log in, you can unlock the user. To unlock a locked user:
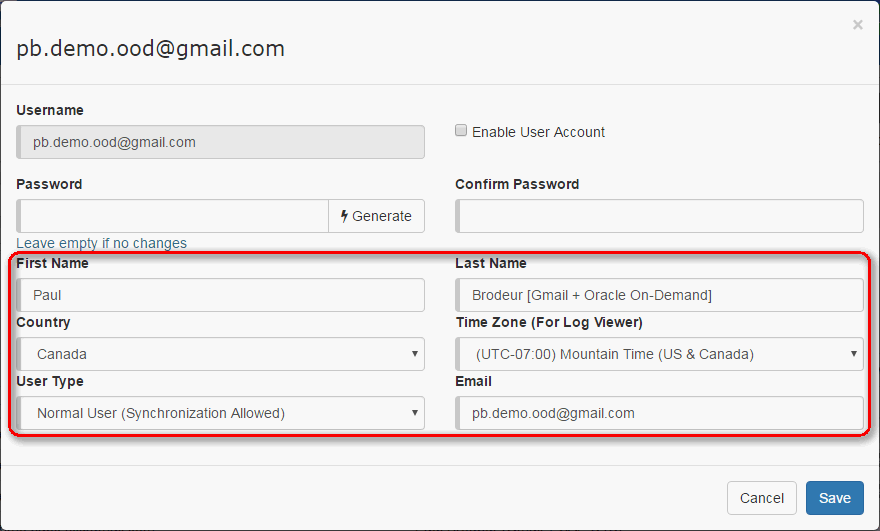
Change User Account DetailsThe Riva Cloud admin can modify the first name, last name, country, time zone, user type, and email address of a target user. To change user account details:
This article was:
Helpful |
Not helpful
Report an issue
Article ID: 1522
Last updated: 23 May, 2018
Revision: 12
Views: 6644
Comments: 0
|
 icon that appears.
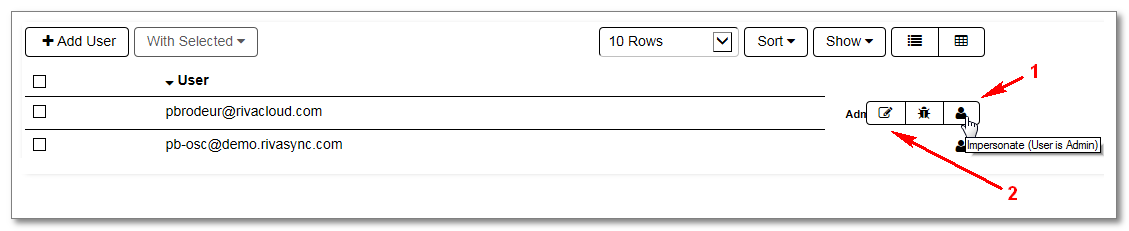
 to the right of the disabled target user account.