|
Article ID: 1067
Last updated: 09 Mar, 2020
If a customer's Salesforce instance is configured to use multiple record types for contacts, calendar and task items, and email, the Riva Cloud or Riva On-Premise connection for Salesforce can be modified to redefine record types to match the customer's desired default mappings. Contents: Default Record-Type MappingBy default, Riva Cloud and Riva On-Premise are configured to map item types to Salesforce default record types for standard Salesforce instances:
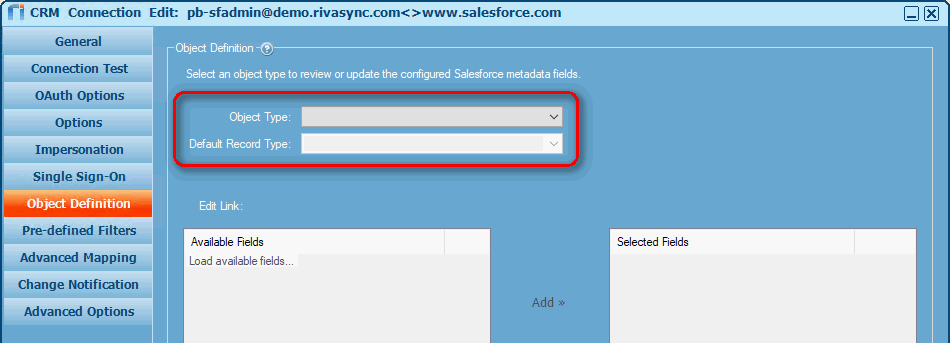
Some customers have customized their Salesforce organization instance to include multiple record types. For example, they have defined multiple record types for contact records. Riva provides the ability to see all of the available record types defined in a Salesforce instance and select one as the Default Record Type to use when syncing an Object Type, such as a contact. Redefine Default Record Types
Implementation for Riva CloudImplementation for Riva On-Premise 2.4.47 or higherTo redefine default record types:
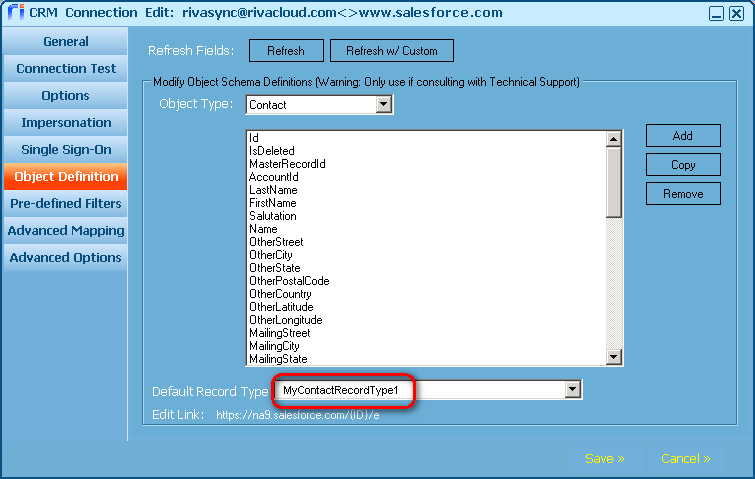
Implementation for Riva On-Premise 2.4.4.36 through 2.4.46To redefine default record types:
Applies to
This article was:
Helpful |
Not helpful
Report an issue
Article ID: 1067
Last updated: 09 Mar, 2020
Revision: 6
Views: 7517
Comments: 0
Also listed in
|