Note: Contact the Success team to gain access to the registration link.
You are welcome to try Riva Cloud for a certain period! To begin with, register for an account.
When you register for Riva Cloud,
- the service automatically creates you a temporary 15-day subscription;
- the service assigns you, the registered user, as the "Admin User" and grants you administrator privileges;
- you can add up to 5 syncing users.
Register for a Riva Account
To register for a new Riva Cloud account:
-
In a supported browser, go to https://www.rivacloud.com, and input the registration details.
You are redirected to the registration page.

-
If you want to sync a supported CRM with
Continuing with Google
Continuing with Office 365, Exchange, IBM Notes, or GroupWise
-
At the Contact step, enter your name, specify a real email address, select I'm not a robot, and then select Next.
-
At the Verification step, follow the instructions, and select Next.
-
At the Information step, fill out the fields, choose a Riva Cloud data residency region, and select Next.
-
At the Create Username step, read the user name guidelines, and select one of the following:
- Option 1: Username Builder: Optionally select the "type" of account, and the Username Builder incorporates it in a user name that you can edit. This user name includes your company domain name.
- Option 2: Build Your Own: Create your user name in email format in any way you like.
-
Enter a secure password, read the Terms and conditions of use, select the check box, and select Complete.
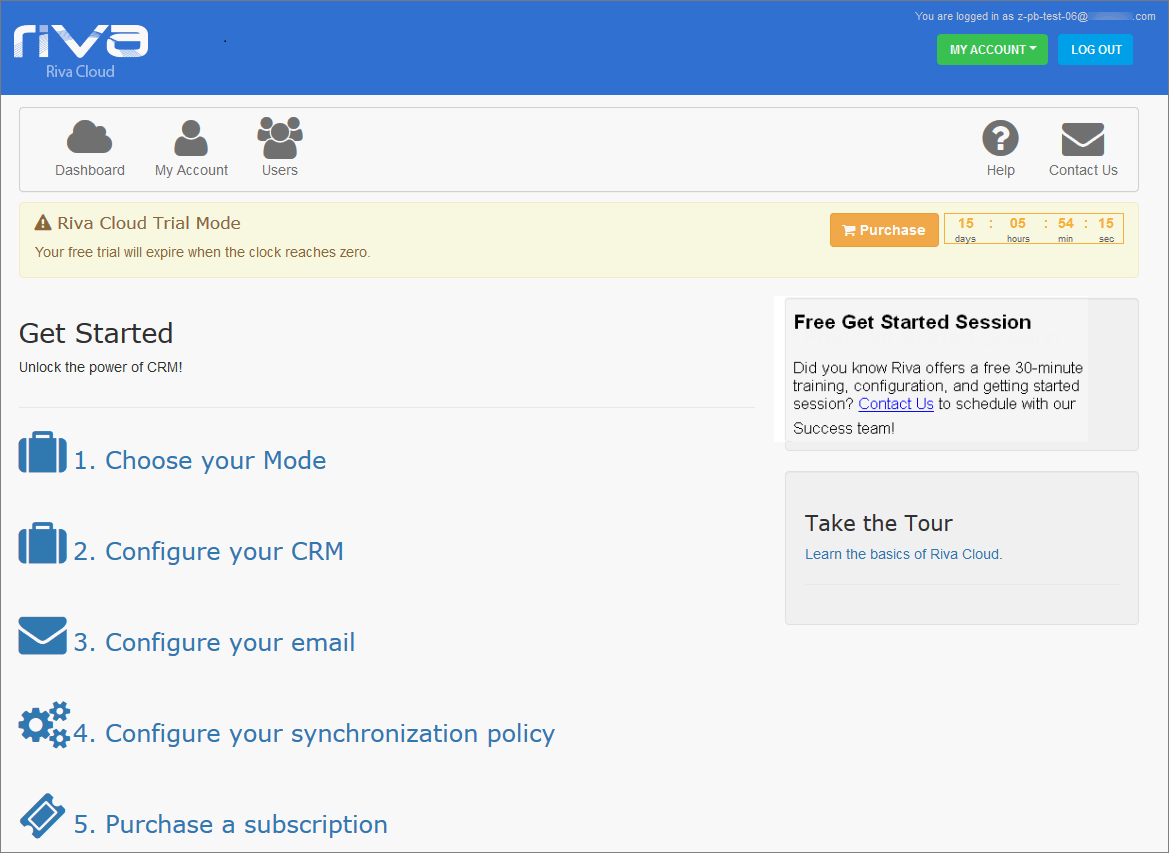
Your account is created, and the Get Started page appears.
The Get Started Page

-
On the Get Started page, select 1. Choose your Mode, and follow the instructions that appear in Riva Cloud.
Note: If you want to preview those instructions and other information, look up Choose your Mode and the other folders in Get Started.


