|
Article ID: 48
Last updated: 19 Jul, 2019
This article applies to Sugar versions 4.5 through 6.x, which are SOAP-based.
Tip: (Riva 2.4.48 or higher.) You can easily migrate a Sugar connection from SOAP to REST. (Riva 2.4.46 or higher.) To create a connection to Sugar 7.x or higher from scratch, see Create and test a Sugar 7+ connection. IMPORTANT NOTICE - Sugar 6.4.0 / 6.4.1 (all editions) are not supported by Riva On-Premise or Riva Cloud due to missing web services functions in those versions of Sugar. SugarCRM has released a patch, version 6.4.2, that re-introduces the missing functionality. An update to the latest release of Riva server is also required.
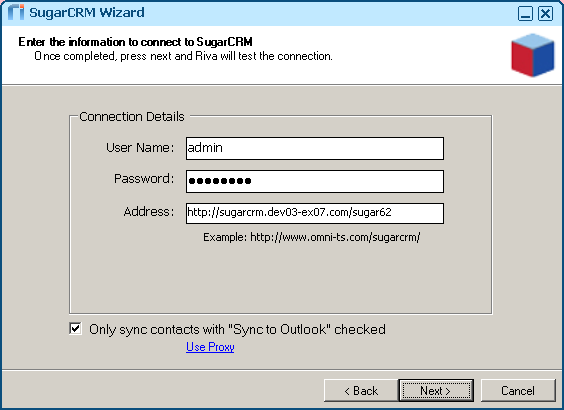
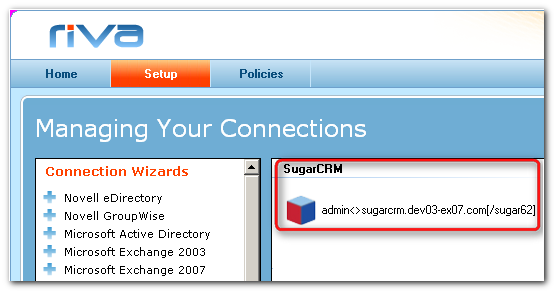
The Riva connection to Sugar supports both on-premise and hosted Sugar services like Sugar On-Demand and SuiteCRM On-Premise server (https://suitecrm.com). Requirement: A connection to Sugar that uses the credentials of an admin account that can impersonate into the target Sugar user accounts. Step 1: Create a Sugar Connection
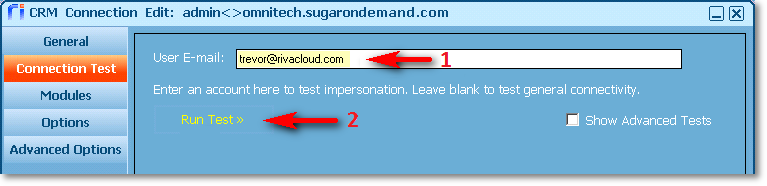
Step 2: Test the Sugar ConnectionTo confirm that user impersonation is working:
Step 3: Edit the Sugar Connection
This article was:
Helpful |
Not helpful
Report an issue
Article ID: 48
Last updated: 19 Jul, 2019
Revision: 15
Views: 9912
Comments: 0
Also read
Also listed in
|