Overview
Azure Active Directory (AAD) is used to authenticate when logging into Riva Admin Center.
- Configure Riva Admin Center as an App in your ADD
- Defining App Roles
- App role assignment
Configure Riva Admin Center as an App in your ADD
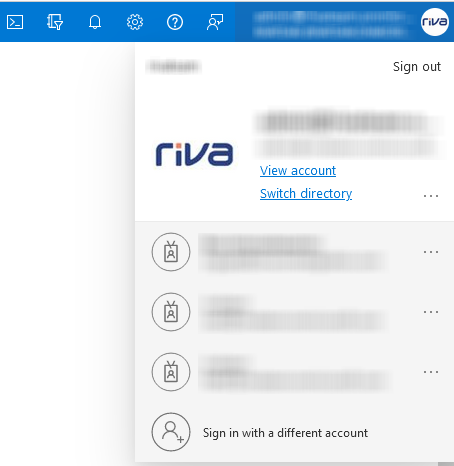
- Log in to the Azure Portal, click on the account from the top right of the screen, then select the desired directory.
- If managing multiple tenants, use the Directories + subscriptions filter
 in the top menu to select the tenant in which you want to register an application.
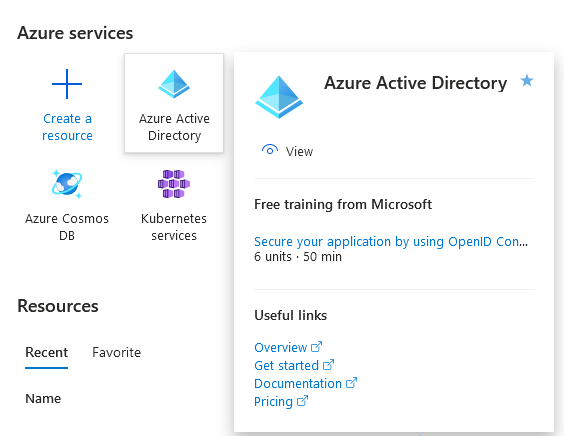
- Select Azure Active Directory from the Azure menu:
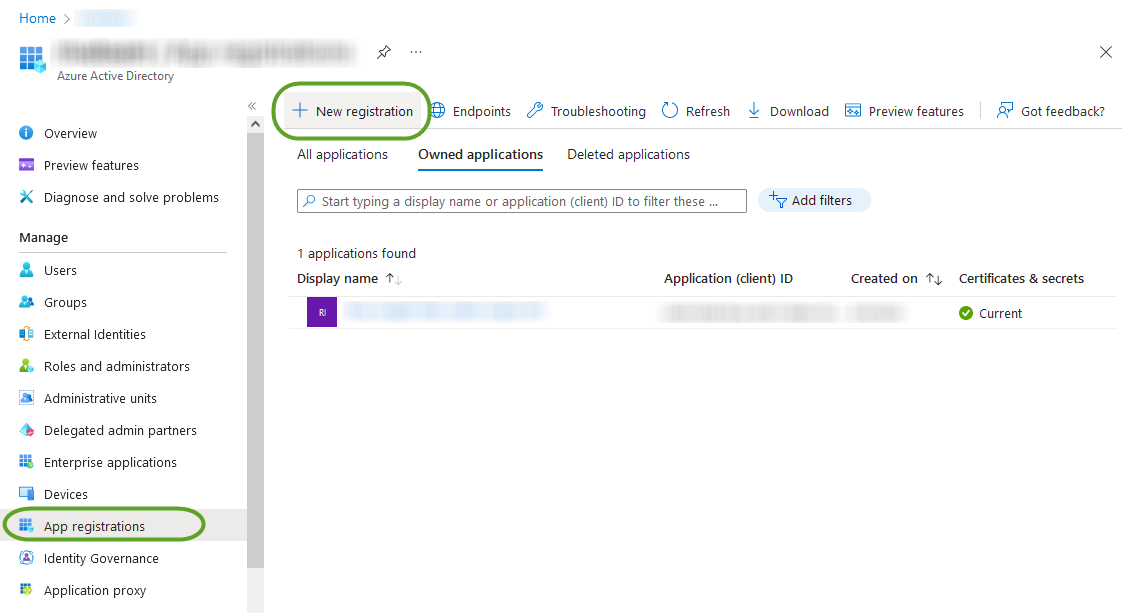
- Select App registrations then choose New application registration:
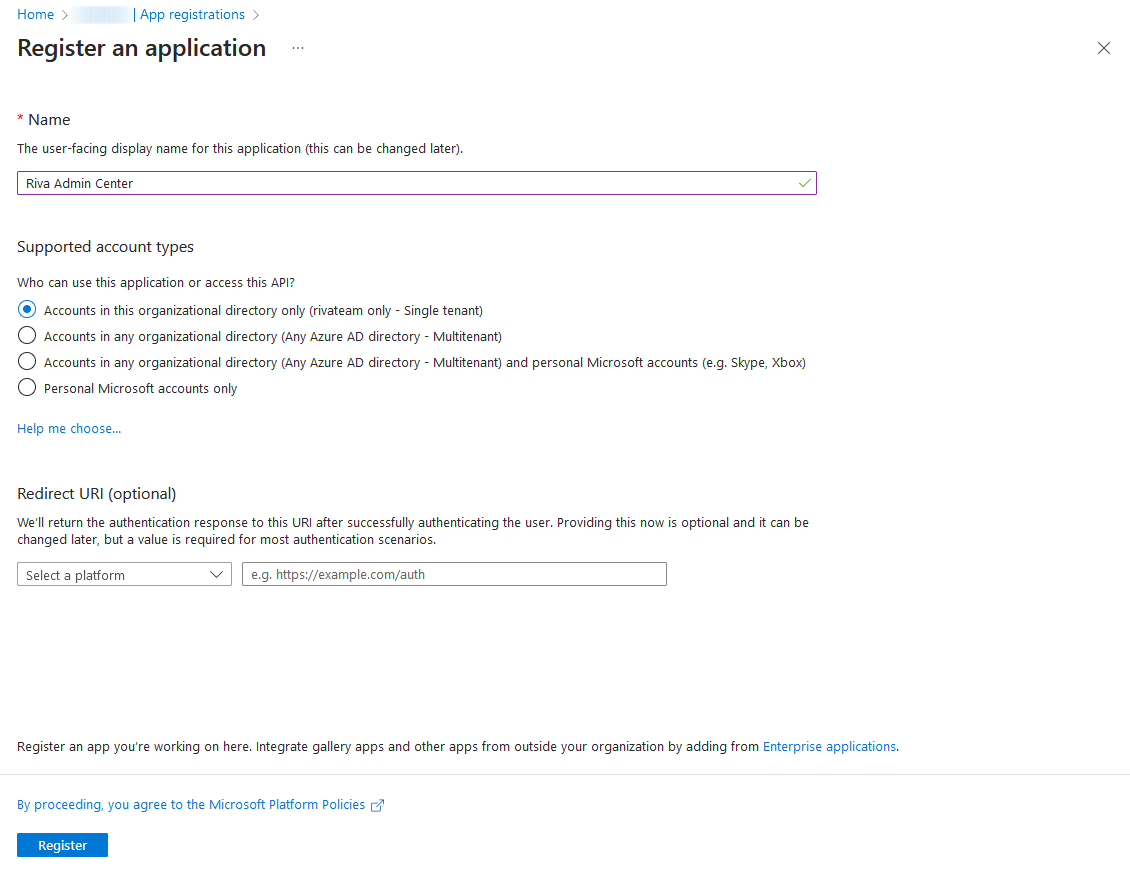
- Choose a Name like Riva Admin Center for the app registration, select the correct Supported account type for Single or Multi-Tenant, and do NOT enter a Redirect URI at this stage. Then click Register.
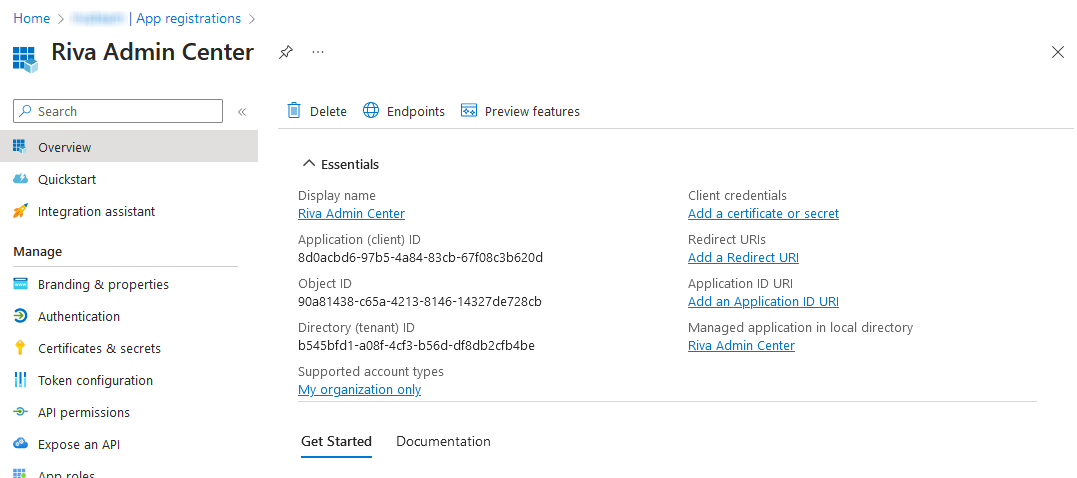
- Once the application has been successfully created, return to the Overview page.
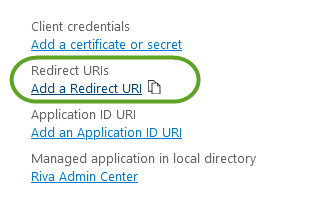
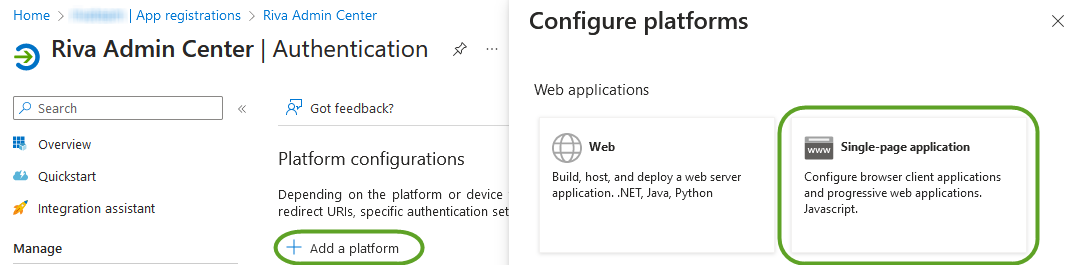
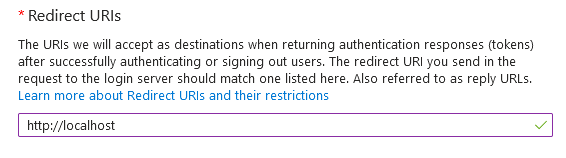
- Next, configure the new application's Redirect URI. This will redirect to the "Authentication page", and click "Add a platform" to select "Single-page application" from the 'Configure platforms' side panel. Then add Redirect URI "http://localhost:7200", and click Configure.
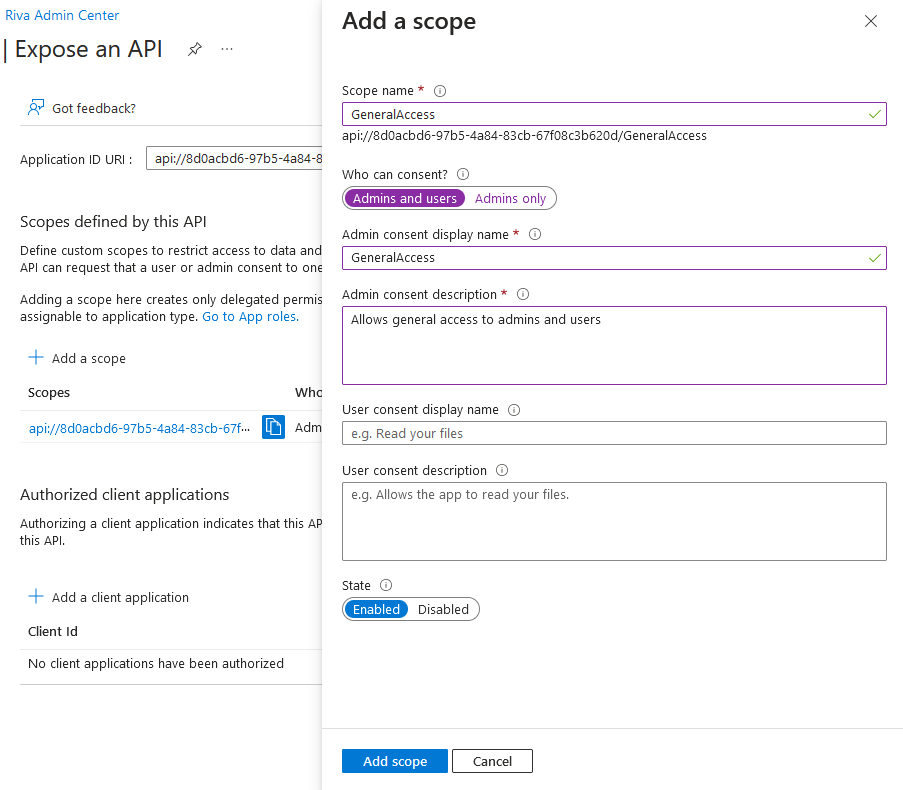
- In your App Registration's sidebar, select the "Expose an API" menu. Click "Add a scope" to reveal the side panel and use the default Application ID URI. Select "Save and continue".
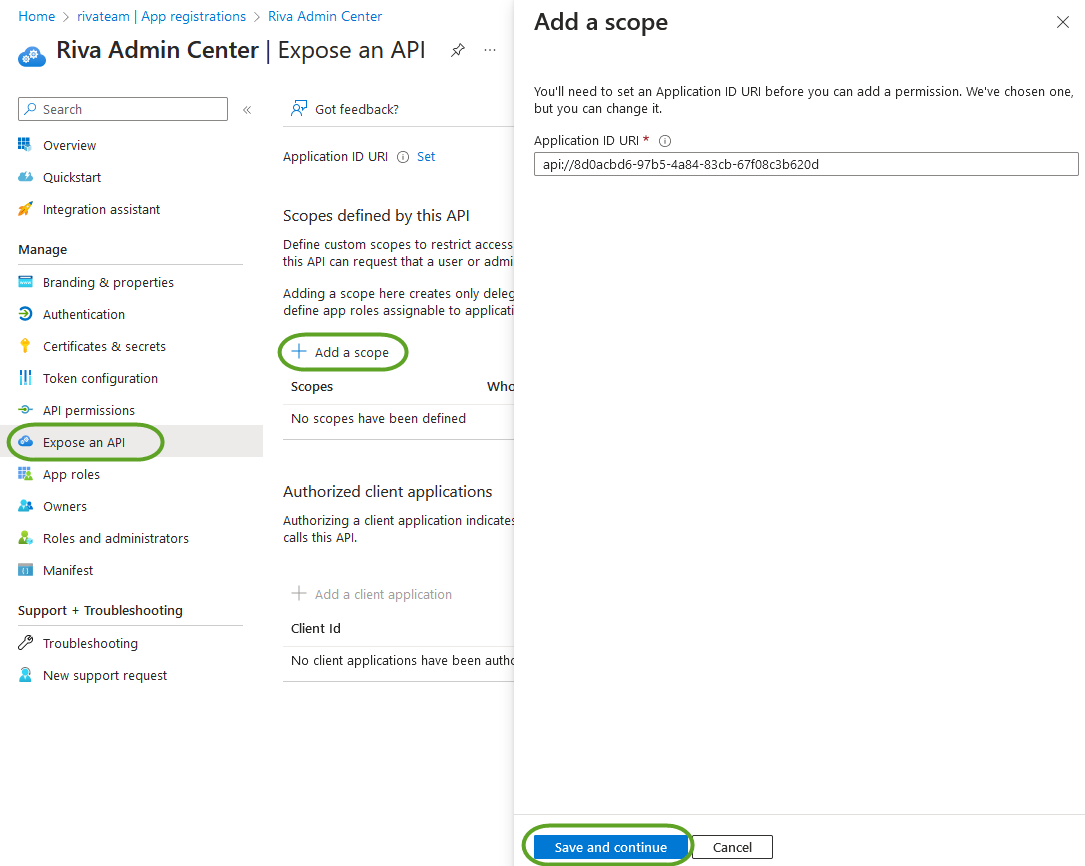
- The "Add a scope" side panel will appear once your "Application ID URI" has been saved successfully. Configure the first scope by filling in the fields as they appear (Admin consent display name/description, and User consent display name/description). Then, click "Add scope".
- Scope Name - 'GeneralAccess'
- Who can consent - 'Admins and Users'
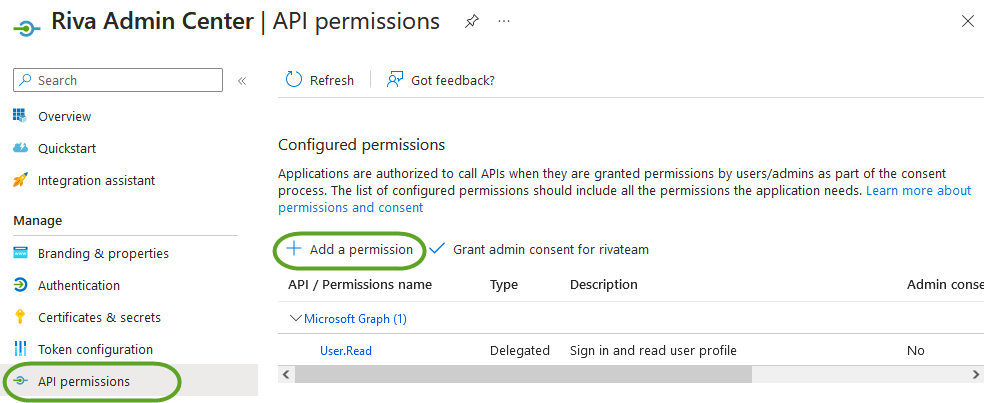
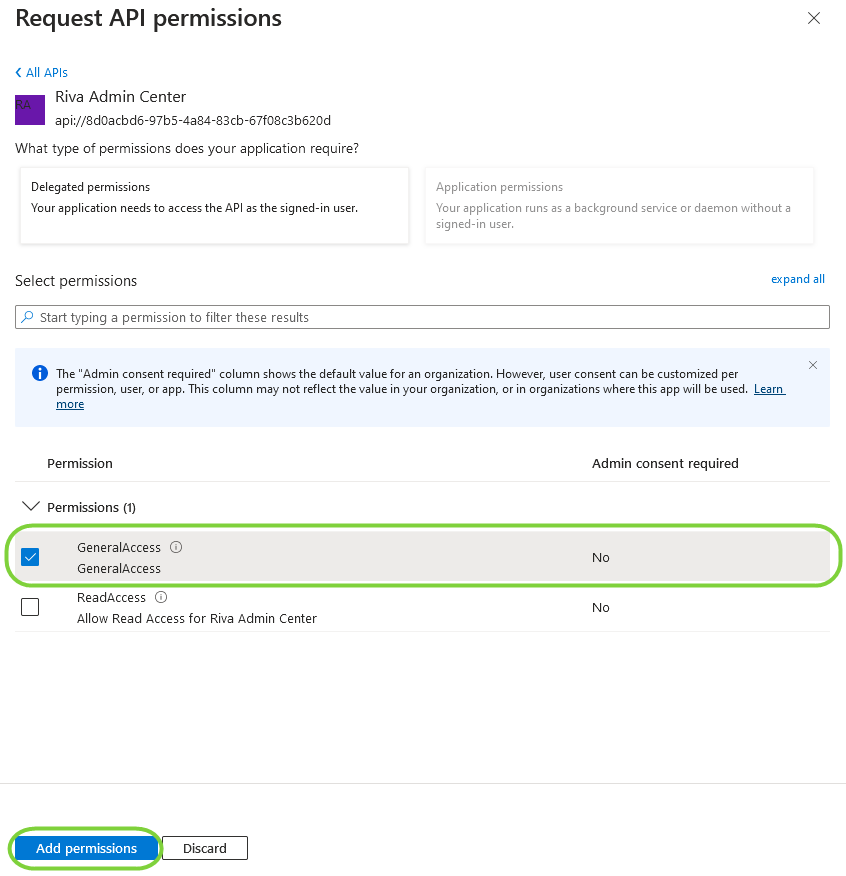
- Next, in the application's side panel, select "API permissions" and click, "Add a permission" and navigate to the 'My APIs' tab. Select the Riva Admin Center application to configure permissions - select GeneralAccess permission and click "Add permissions"
The Riva Admin Center application is now ready to be authenticated using AzureAD as its identity provider.
Defining App Roles
App Roles defined in Azure AD are used to authorize users to access Riva Admin Center. Navigate to Riva Admin Center from the App Registration page in the Az
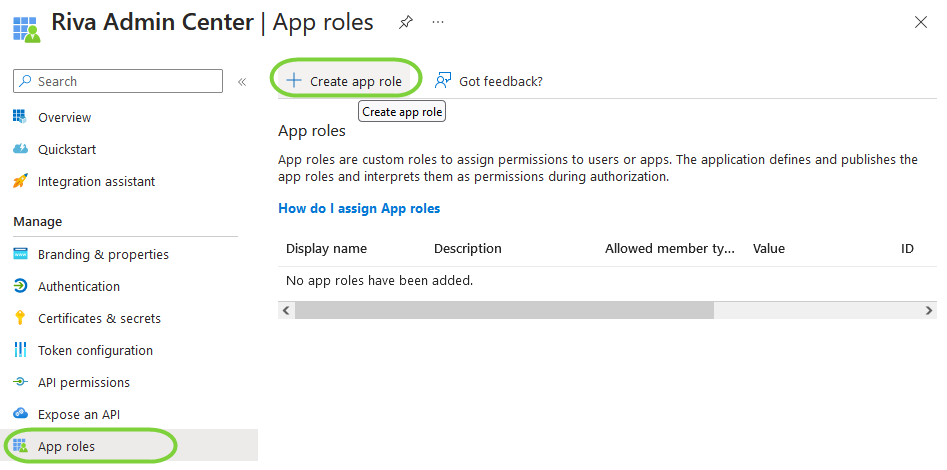
- From the left navbar, select 'App Role' and click on 'Create App Role'
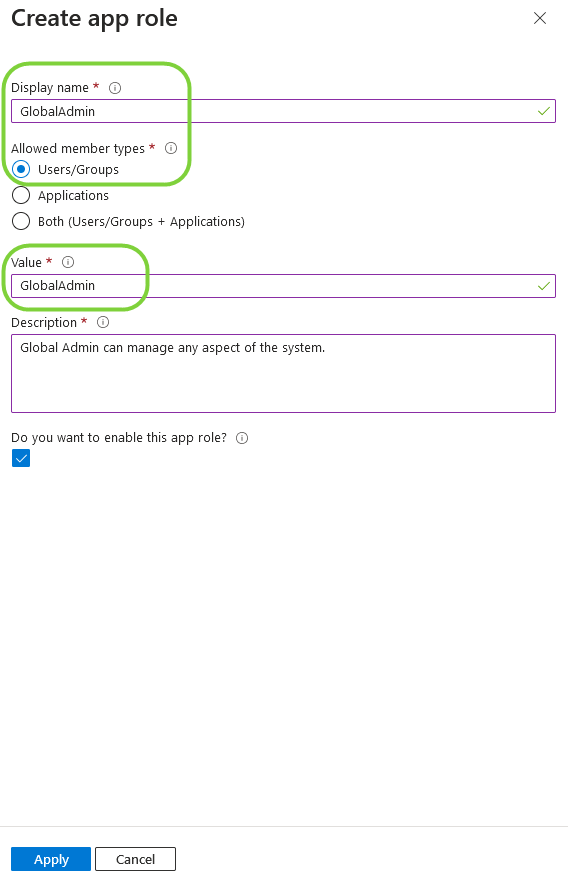
- In the new panel that opens after clicking 'Create App Role', add the GlobalAdmin role by setting the Value and Display name to 'GlobalAdmin'. Allowed member types is set to 'Users/Groups'. In the description, add - Global Admin can manage any aspect of the system. Then click 'Apply'.
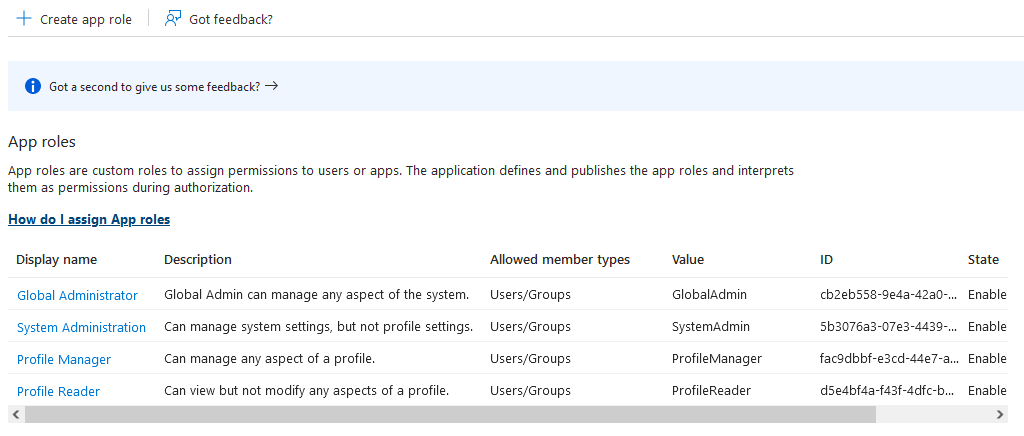
- Repeat the above step to add the following roles
- SystemAdmin - Can manage system settings, but not profile settings.
- ProfileManager - Can manage any aspect of a profile.
- ProfileReader - Can view but not modify any aspects of a profile.
- Once all roles are added,
A user must be assigned to a least one role in order to access data or perform actions in RAC. Depending on the assigned role(s) the user can have different permissions. If you want to have access to do everything you can assign the "GlobalAdmin" role created above to your AD user:
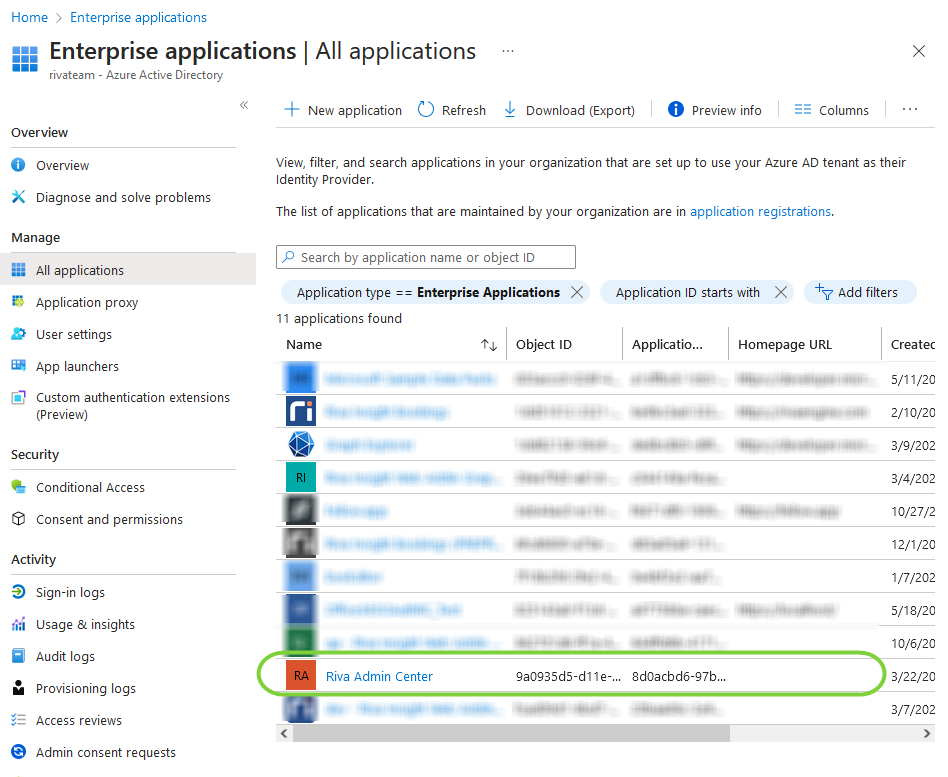
- From the home Azure Portal page, navigate to Azure Active Directory and click on "Enterprise applications" from the left navbar. Find Riva Admin Center in the list and click on it to navigate to the enterprise app page.
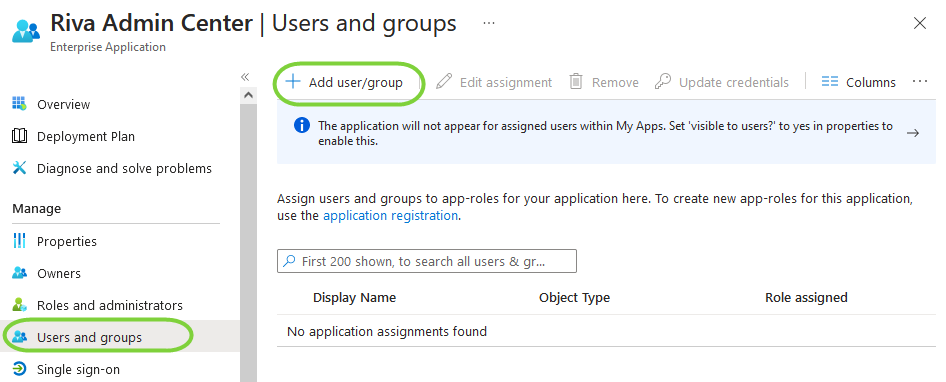
- In the left nav panel, click on "Users and Groups", then find "Add user/group" and click on it:
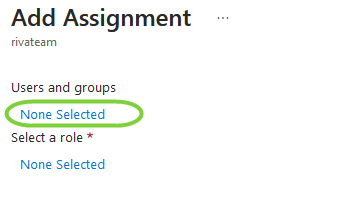
- A new full-screen panel should show up. Click the "None Selected" link Under "Users and groups":
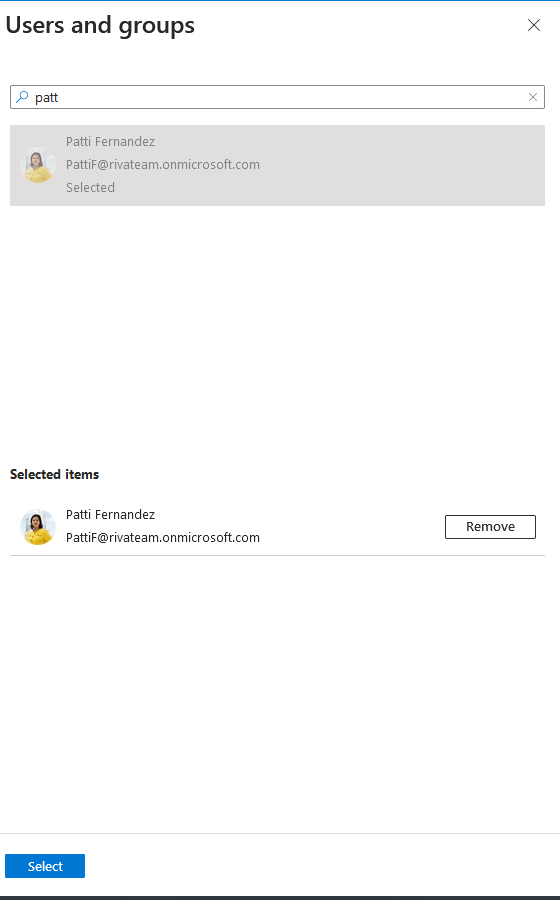
- A right panel should be displayed. Search and select the AD user or group you want to assign the role to and click on "Select":
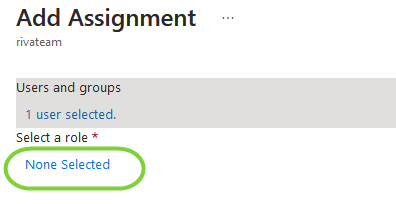
- In the parent panel, click on the "None Selected" link under "Select a role":
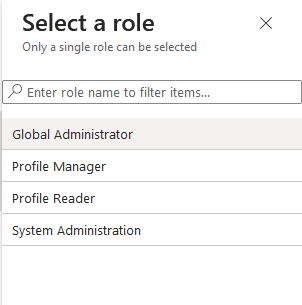
- A right panel should show up and it should display all the App Roles defined above. Select a role (GlobalAdmin as an example to have full access) and click "Select":
- Repeat the previous steps to assign other roles to the same user.
- Follow the same steps above to assign roles to different AD users or groups.