|
Article ID: 2517
Last updated: 23 May, 2024
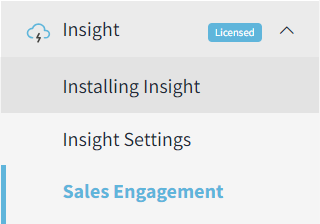
IntroductionThis document will review the admin settings tab in the bookings portal. User management, branding, and global settings changes that can be made to suit your needs. Not each option applies to every feature, as of today the color and branding options only apply to Riva Bookings. ContentsAccessing Admin SettingsNavigate to Insight/Sales Engagement from within Riva Cloud
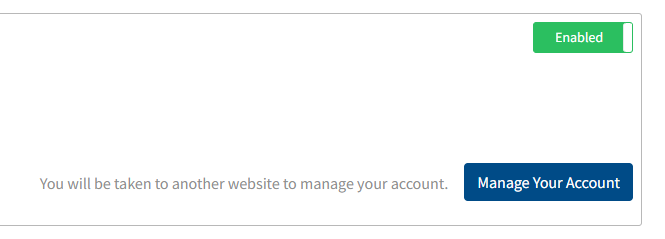
Click “Manage your Account” in the lower right section of the screen.
From the Bookings page, click on Settings to access the Admin settings options.
Expand the menu to reveal all admin settings. GeneralShow only licensed users when adding internal By default, Riva accesses Microsoft Entra ID (formally Azure Active Directory) to search for internal attendees even if they are not licensed Bookings users. If you want to limit internal attendees only to licensed users, enable this toggle. Setting Outbound Emails This is the default email address for outgoing emails sent by Riva (such as meeting confirmation emails for Riva Bookings). Keep in mind this is not a monitored mailbox and you should update this to an email address within your organization. API Secret Key (Optional) This is used when a third party needs access to Riva's sales engagement APIs. Most likely, customers will have an On-Premises version of Insight Add-in Web with sales engagement features enabled.
OpenAI Key (Optional) This is used for those who want to utilize OpenAI functionalities for cadences and email templates. Contact the Success team for more information. Set up and ConfigurationThe setup and configuration tab contains information about the authentication and admin access of your instance. Here you can change or update the authentication flow, auto-discover service, and add or change admin users and allowed domains. Keep in mind, that the default admin cannot be changed but additional admins can be added in a comma-separated format. User ManagementFrom the user management tab, you can add or archive users and assign features to all users or specific users of your choosing. Users can only be added if there is an available license for them. keep in mind that the admin user also counts as a user and occupies a license. Adding Users: Click the “+ Add User” button and enter at least three characters in the search box. You can search for individual users/mailboxes, Adding Groups: When groups are added, all users that were part of the group will be added in bulk.
Disabling Users: To archive users, click on the trash icon or bulk-select users. Re-enable Archived Users: Users can be unarchived from the Archived Users tab, ensure you reassign features to the user once unarchived. Security groups are not supported as there isn't an email address tied to them. Only Microsoft 365 groups can be created from Azure, other groups have to be created from the Exchange Admin Center.
Once the users are added, they will be able to log in using SSO for Office 365 customers or basic authentication for Exchange On-Premise customers. BrandingRiva allows for custom branding. These changes impact both user-facing designs (when the user logs in) as well as client-facing designs (ex. recipient pages for Bookings) To access the branding page, navigate to Settings → Admin Settings → Branding. Note that these branding changes do NOT apply to the Riva Insight side panel.
Article ID: 2517
Last updated: 23 May, 2024
Revision: 7
Views: 0
|


.bmp)


.png)
