Overview
- Getting Started with Riva Cloud
- Configure Riva Bookings
- User Management
- Branding
Getting Started
At this point, you should have been in contact with a Riva Success member to purchase a subscription to Riva Bookings for your organization.
- Log into Riva Cloud.
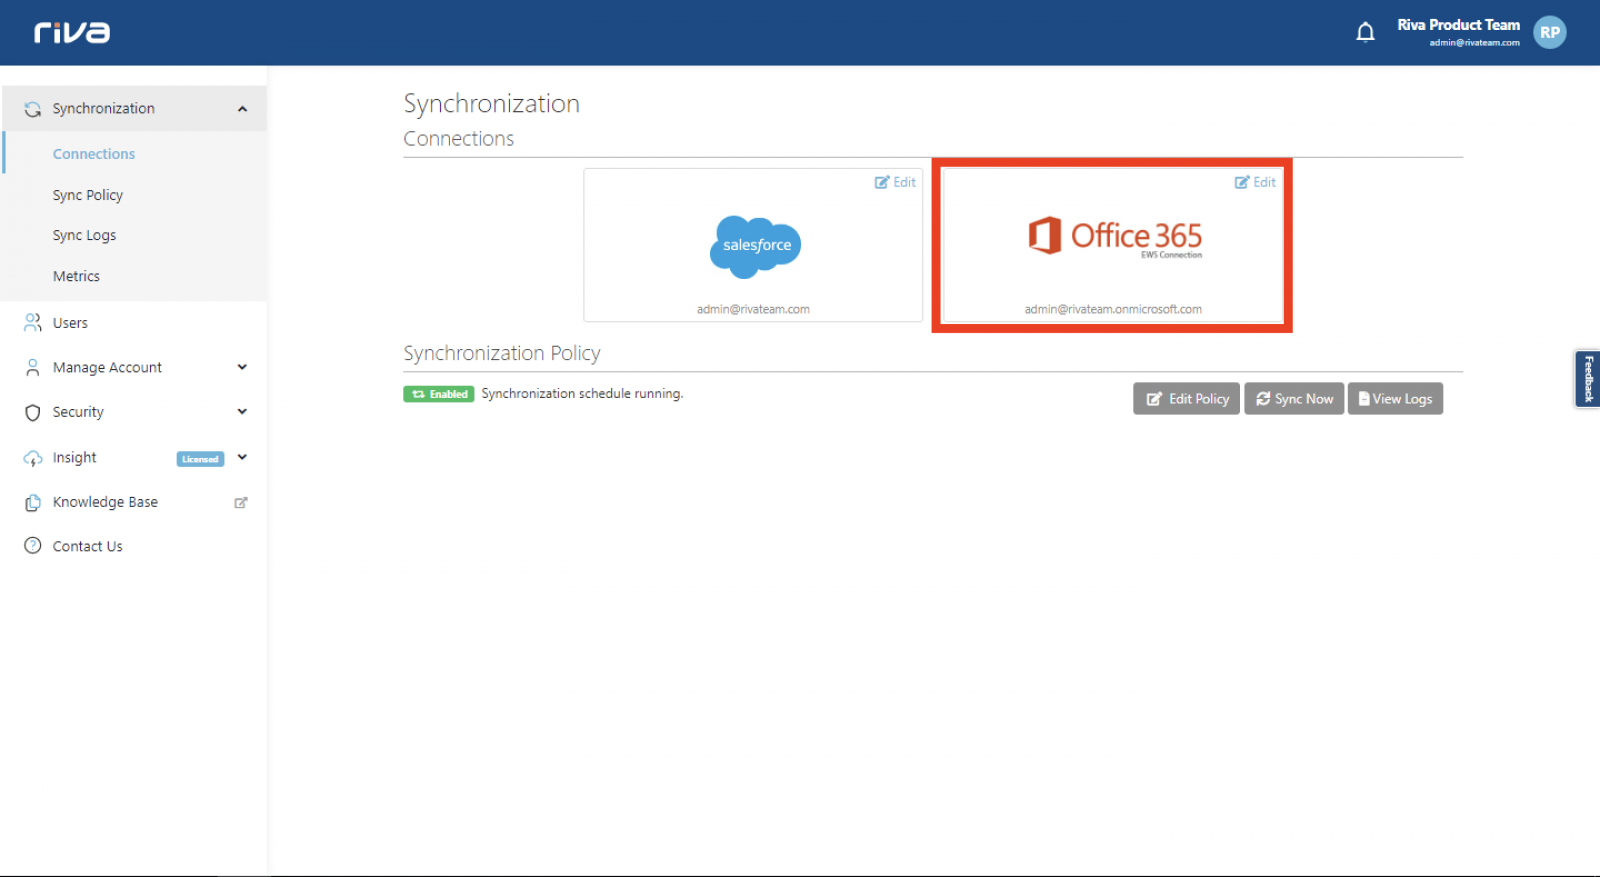
- Ensure you have a valid email connection in "Synchronization->Connections"
- We currently only support Office 365 or Exchange with Riva Bookings.
- Navigate to "Insight->Riva Bookings"
(1).png)
- Click on "Create Riva Bookings Account"
- Please wait until the account has been created.
.png)
.png)
- Once created, click on "Configure Account"
- You will be redirected to your Riva Bookings to configure the account for your organization.
- Congratulations, Riva Bookings is ready to be used! Navigate back to Riva Cloud to the "Riva Bookings" section. You should see a button to "Sign In to Riva Bookings", where you will be authenticated to Riva Bookings as the admin.
- If you don't see this, please refresh the page.
.png)
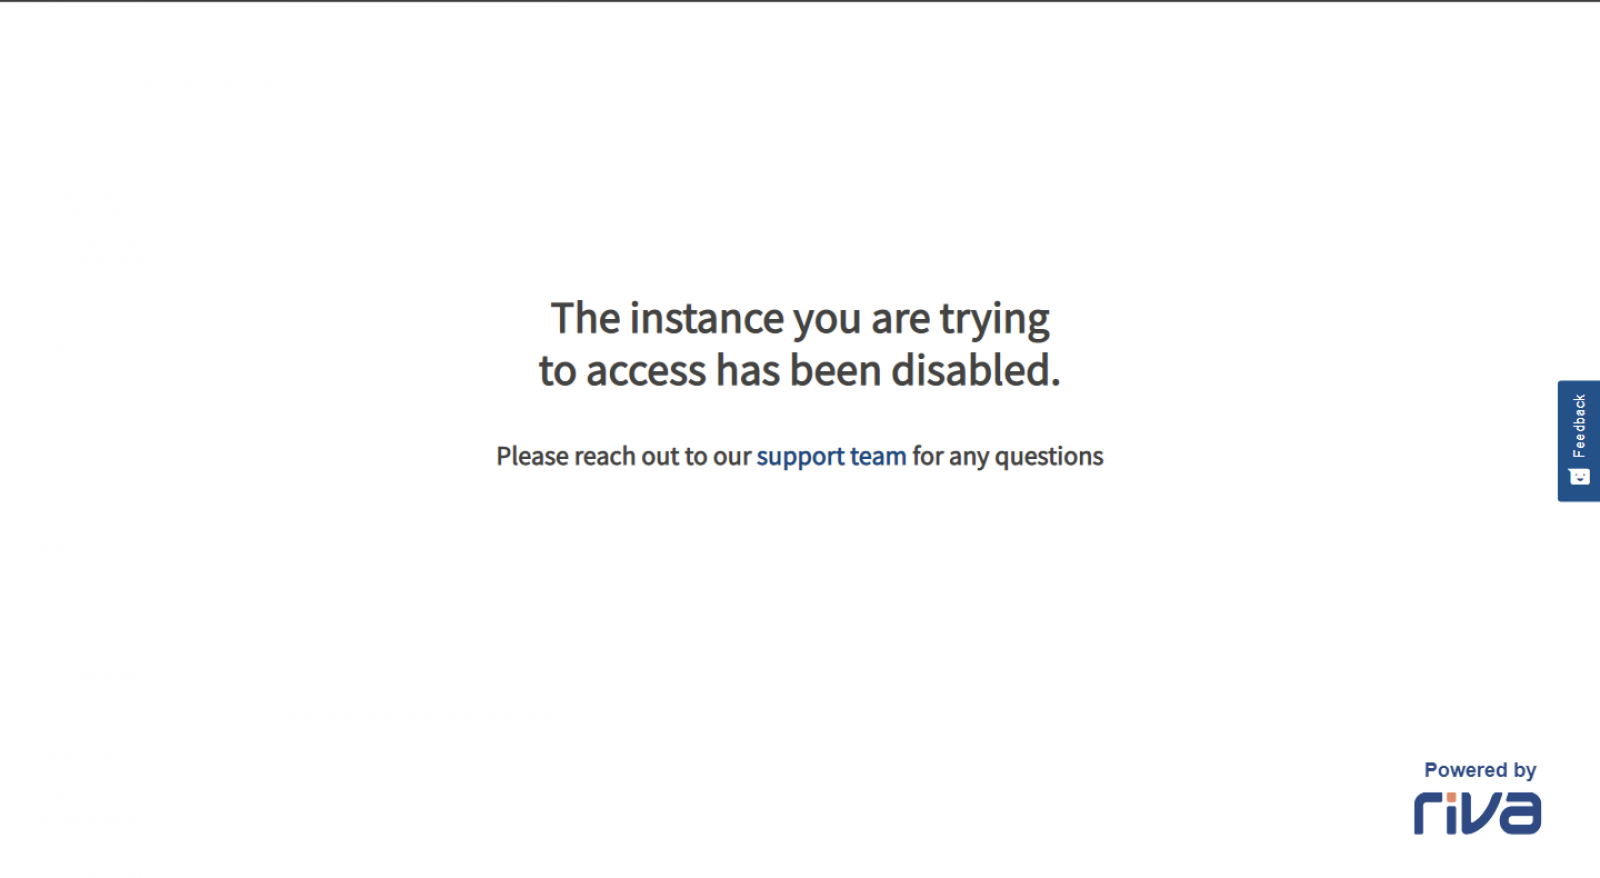
- If you ever want to disable Bookings for your organization, you can simply toggle "Enable/Disable Riva Bookings" toggle.
- If disabled, no one will be able to log in, create new links, or request new meetings for existing links.
.png)
- When Enabled, users can use Bookings as usual.
Riva member will walk you through the configuration process.
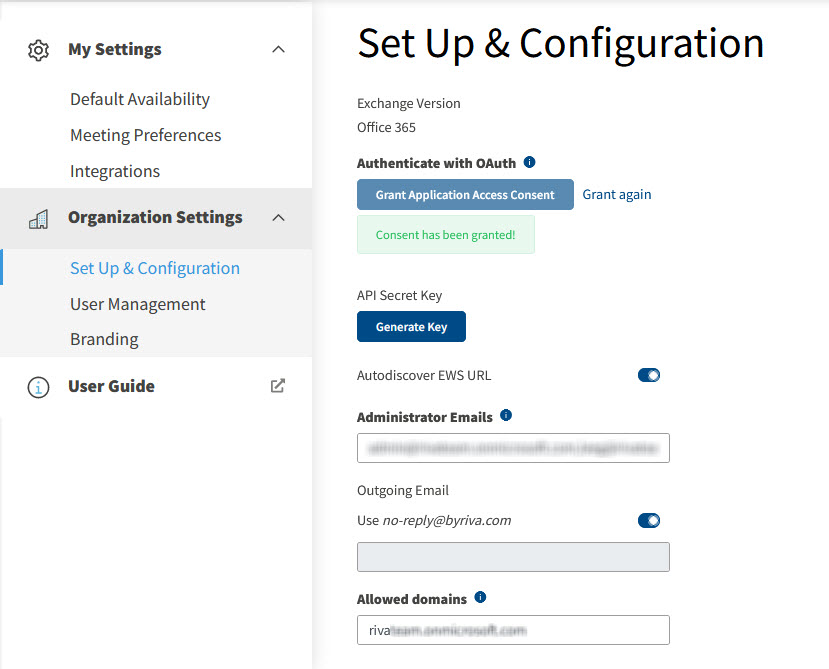
- Select your Exchange Version
- If you are using Office 365 or Exchange Online, select "Office 365"
- If you are on Exchange 2013 On Premise or Greater, select "Exchange 2016"
- Authenticate with OAuth (only for Office 365)
- Click on "Grant Admin Consent": This will open a Microsoft Authentication window.
- If you see one, make sure you check off "consent on behalf of your organization". This will give the consent required so your instance of Riva Bookings can access Exchange via EWS.
- IMPORTANT: You must log in with a Global Administrator account
- Autodiscover EWS URL: Please refer to prerequisites. If you don't have Auto-discovery enabled, please toggle this off and manually enter the URL.
- Administrator Emails: List out emails you would like to be given an admin role with a comma (if multiple emails). For example, admin1@domain.com,admin2@domain.com,admin3@domain.com. They would be able to access "Admin Configuration" in settings and make changes.
- Outgoing email: Whenever there are issues/notifications that Riva Bookings sends out via email, the sender of the email will be the Outgoing Email you set. If not set, it defaults to no-reply@byriva.com
- Allowed domains: For an organization that has multiple email domains under exchange or Office 365 tenant. Only the domains listed will function correctly. For example, a company might have @domain1.com and @domain2.com.
- Session Expiry Time. If you are not using OAuth, you can set your session expiry time here.
User Management
The admin now can start onboarding users or distribution lists directly from Azure into Bookings and provision the users to use the platform.
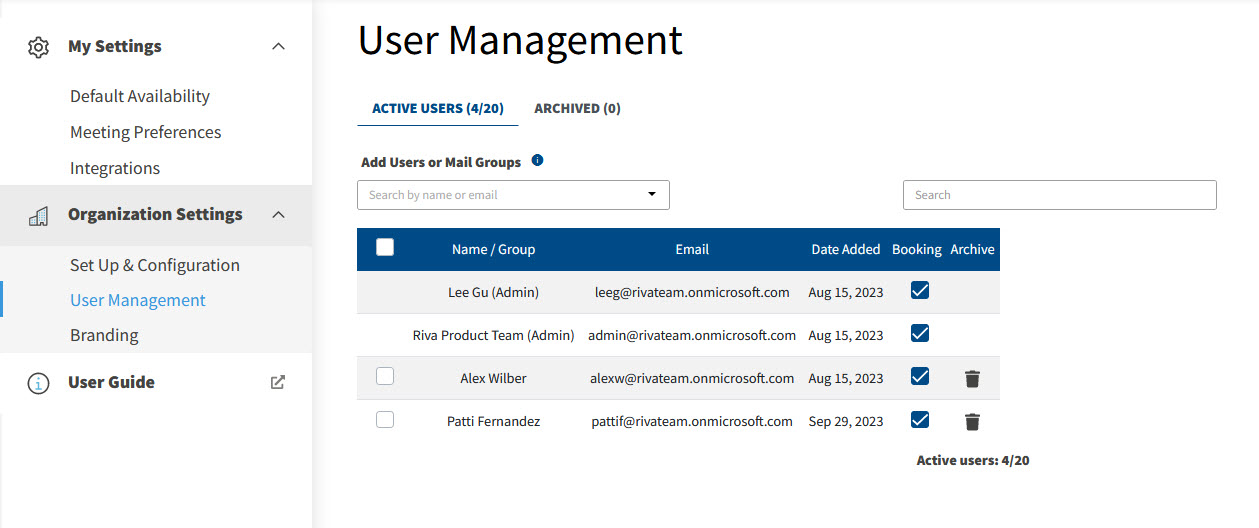
After this, users provisioned can log in to their Riva Bookings account and start using it.
As a next step, for a seamless user experience, enable Riva Bookings on Riva Insight so that you can send your availabilities directly from Outlook
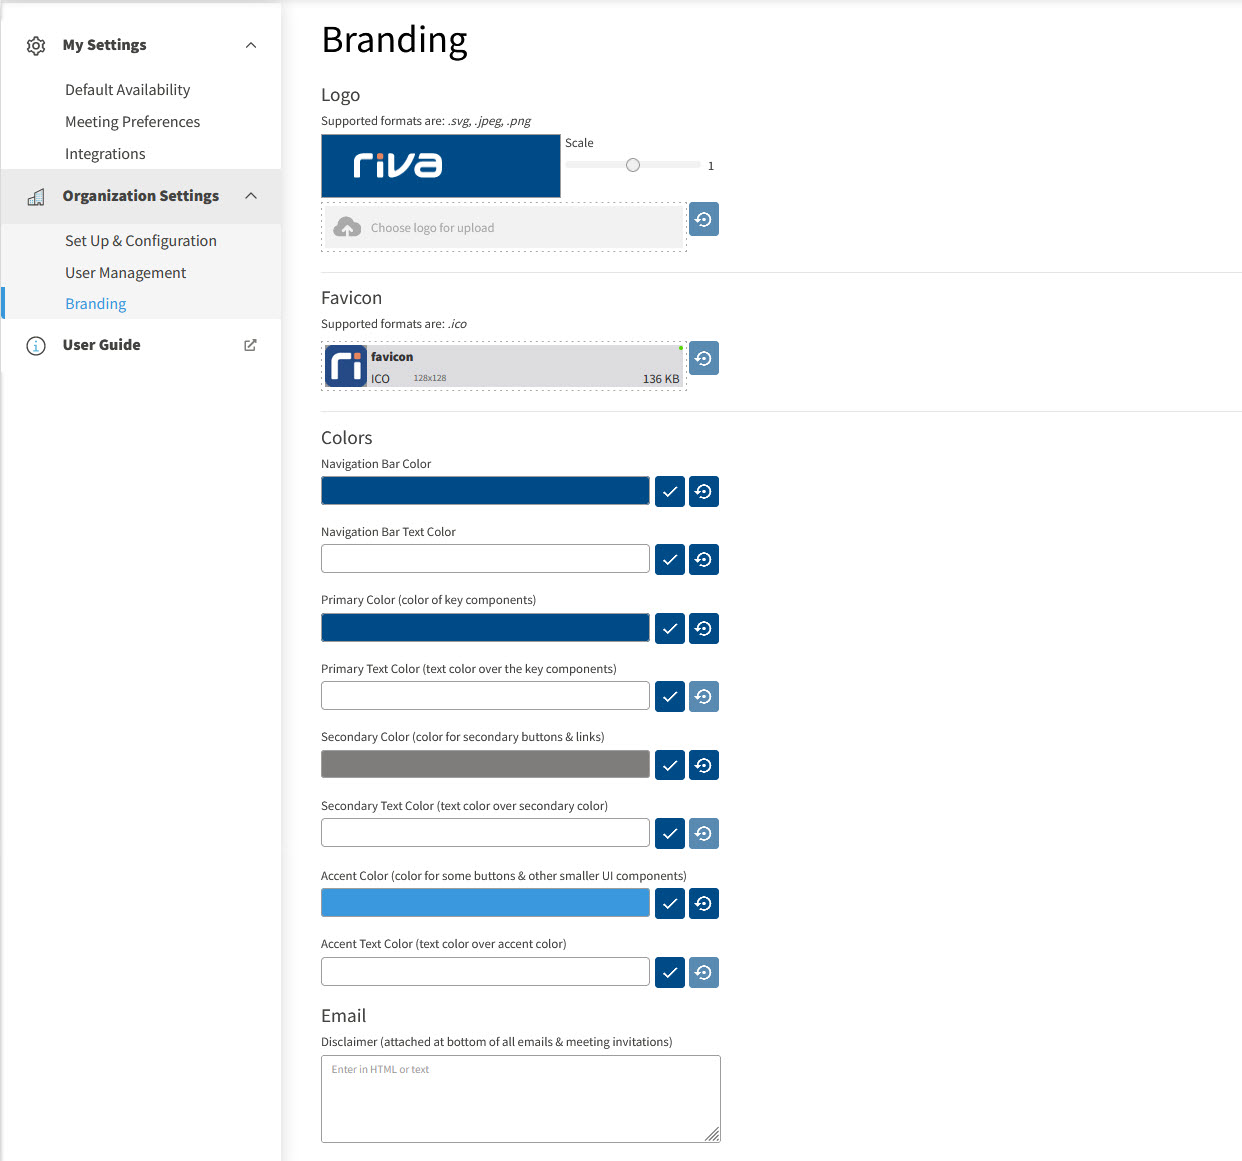
Branding
The Admins have the option to update the branding for their organization based on their preference and brand identity