Applies to Riva Insight Cloud and Riva Insight On-Premise.
Server version: 2020.5 or higher.
Outlook Windows add-in: version 1.32 or higher. Recommended: Match the Server's and add-in's version, as per the
release notes.
Audience: Your company's Riva Insight administrators.
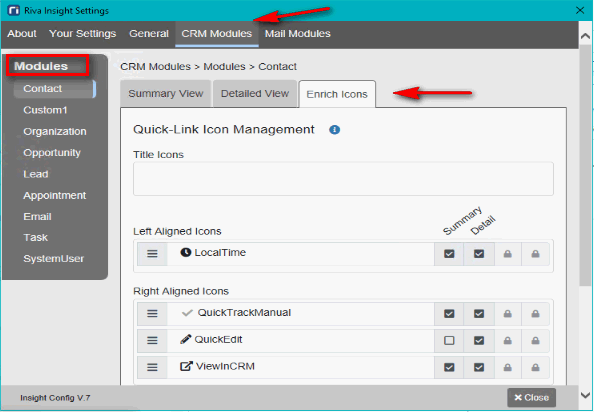
How to navigate to the Enrich Icons tab
- In Riva Insight, at the bottom, click
 .
.
- In the Settings window that appears, select the CRM Modules tab.
- On the left-hand side, under Modules, select the appropriate module.
- In the right pane, select the Enrich Icons tab.
Adding an enriched icon
To add an enriched icon:
- Scroll down to the bottom of the window, and select Add New Icon. In the Add New Icon window, enter the field name from your CRM.
- Select the Display Config tab. then choose the grey button next to Icon, and enter a keyword representing the icon. Select the icon you want to use.
- In the Label field, enter the label you want to use for your icon.
- In the URL field, enter the URL to use for the enriched icon. Ensure that you have the correct syntax in your URL. Insight users must be logged in to that social network to use this function correctly.
- In the Tooltip field, enter the tooltip you want to use. Example: Search on (example website)
- Select Save New Icon. On the Enrich Icons tab, drag and drop the newly created icon into the field you want to display it in. Check the Summary box next to the new icon. Select Save.
- In the Settings window, select the About tab and choose Reload Settings. Select Close to return to Riva Insight, then select the Reload button.
Result: The new enriched icon will be displayed in its appropriate field.
The icon is now ready to use. The end users can select the icon to open the enriched content.
