In this article, we will be using a sample eDirectory tree, [b]Omni6-tree[/b]. This tree supports a fictitious company AMI (ACME Manufacturing Inc.) which is a manufacturing company with 800+ employees located in Edmonton, Alberta, Canada' Vancouver, British Columbia, Canada; New York, NY State, USA; and Berlin, Germany. Each geographic location is configured with its own OU container. Each location has local servers, but all GroupWise servers and the Master Replica is held on a server in the Edmonton head office. Each location has approximately 200 eDirectory and GroupWise accounts. The default user naming convention is the first letter of the first name and the full last name. AMI recently hired 24 new personnel to work in a telephone marketing centre in Edmonton. We will use EMU to add and manage those new accounts.
Starting EMU
Before starting EMU, you must login to the eDirectory tree using an administrative user account. When starting, EMU will verify that there is an authenitcated session to an eDirectory tree. To start EMU:
1. Select Start > Programs > Omni > EMU.
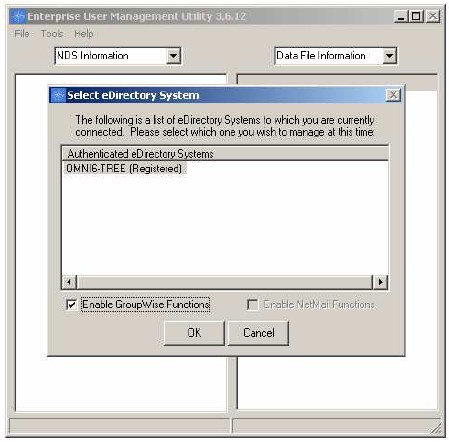
2. In the "Select eDirectory System" window, each eDirectory tree you are authenticated to will be displayed as a connection. Licensed connections will be shown as (Registered), other connections will be shown as (Demo). If you will manage GroupWise accounts, ensure that "Enable GroupWise Functions" option is checked, and click OK.
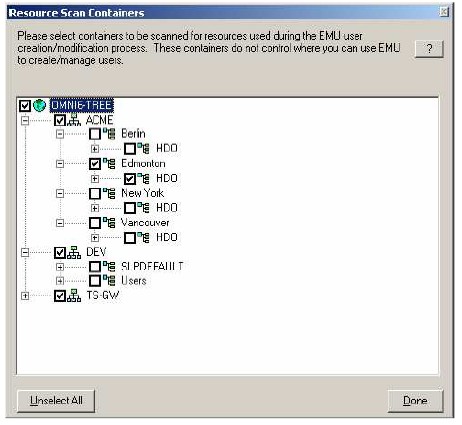
3. In the "Resource Scan Containers" window, select the containers that you wish to scan for user, group, email, file server and volume objects, and click Done.
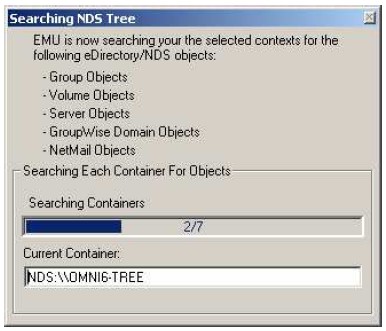
4. A "Searching NDS Tree" window will open and display the objects that EMU discovers.
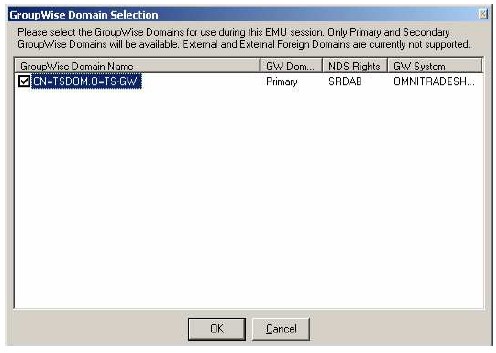
5. In the "GroupWise Domain Selection" window, select the GroupWise domains that you want to manage and click OK.
6. EMU will open available for use.
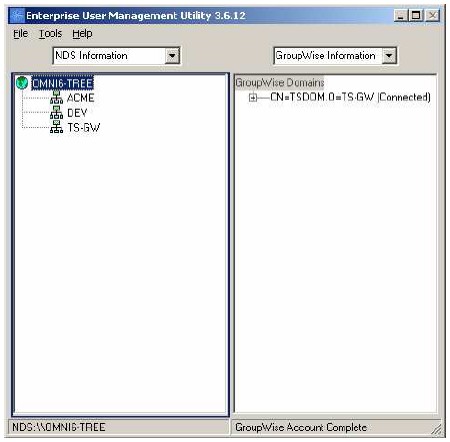
EMU makes use of two panes which can hold several different views including "NDS Information", "GroupWise Information", NetMail Information" (if NetMail is discovered by EMU in the eDirectory tree), "Data File Information" and "Report Information". Use the frop-down list above the pane to select the desired view.
How to Bulk Create Users
One of the greatest strengths is the ability to mass create user accounts using a .CSV input file. Users can gather information from any source that can generate .CSV files and repurpose those files as input files for EMU. To ensure success, EMU users should:
1. Ensure that appropriate eDirectory groups and GroupWise distribution list objects exist.
2. Modify the source .CSV file from another information system (e.g. Student Management System, HR System, etc) by deleting, adding and/or modifying the columns to support EMU; and by adding or changing corresponding user data.
3. Use EMU to import the user accounts into the eDirectory tree and create corresponding email (GroupWise or Netmail) accounts.
Export User Information
you can easily obtain the suitable naming convention for column header names by using EMU to export the information of a single user from any container in the eDirectory tree:
1. Open EMU and locate a user in the same or similar container where you want to create new users.
2. Right-click the user and choose "Export User".
3. Select the fields that will be used in the input .CSV file and click "OK".
4. Provide a suitable name for the export file and click "Open".
Modify the Input File
Use an appropriate spreadsheet program like Microsoft Excel to open the input file and modify the header row to use the desired colume headers. Also remove any empty columns before or between the first and last actual colums of data. Remove any blank rows between the first row and last row of data. Save the file as a .CSV file.
Using the Modified .CSV File to Bulk Create Users.
Watch the following flash-based video that demonstrates how to import or create users using a .CSV input file.


