Riva CRM Integration - Documentation and Knowledge Base

Create & Test Client Secret-Based Office 365 OAuth Connection

Article ID: 1714
Last updated: 15 Aug, 2018

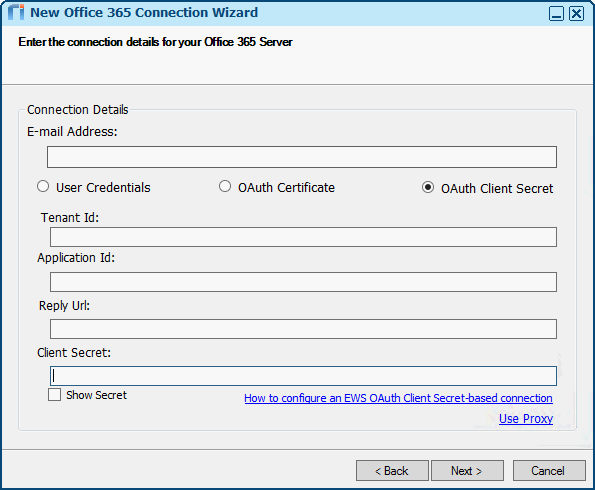
(Riva 2.4.45 or higher.)

To create and test an OAuth Client Secret-based connection to Office 365:

  1. Ensure that you have prepared Office 365 for a Riva EWS connection.
  2. In Microsoft Azure, create and configure an Application Registration.
  3. In the Riva Manager application, enter the OAuth Client Secret-based connection details.
  4. Test the connection.

Step 1: Ensure That You Have Prepared Office 365

Step 2: In Azure, Create and Configure an Application Registration

  1. Find the Directory ID, create an App registration, grant permissions, and add (assign) users.

  2. Obtain the Home page URL, and generate a key.

Step 3: In Riva, Enter the OAuth Client Secret-Based Connection Details

  1. In the Riva Manager application, on the menu bar, select Setup.

  2. In the left pane, under Connection Wizards, select Microsoft Office 365.

  3. On the wizard's Welcome page, select Next.

  4. On the Connection Details page that appears, select OAuth Client Secret.

  5. Enter the connection details required by the OAuth Client Secret-based connection.

  6. Select Next.

  7. If the Office 365 connection has been successfully created, select Finish. If not, contact the Riva Success Team.

Step 4: Test the Connection

For instructions, see Testing the Office 365 connection.

This article was:   Helpful | Not helpful
Report an issue
Article ID: 1714
Last updated: 15 Aug, 2018
Revision: 20
Views: 5434
Comments: 0