To create, test, and edit a Riva Enterprise Google connection:
- Ensure that the system requirements are met.
- Create a Google Enterprise connection.
- Test the connection.
- Edit the connection.
Step 1: Ensure That the System Requirements Are Met
-
Google Web Services: Riva connects to Google Web Service via API to establish a connection.
-
Riva Connection Mailbox User: Riva requires a fully enabled Google Administrator account and a Google Developer account to establish a connection.
Step 2: Create a Google Enterprise Connection (by Using a Google Web Services Connection)
To create and configure a Google Enterprise connection:
-
Start the Riva Manager application.
-
On the menu bar, select Setup. In the left pane, select the Google Connection Wizard.
-
On the wizard's Welcome page, select Next.
-
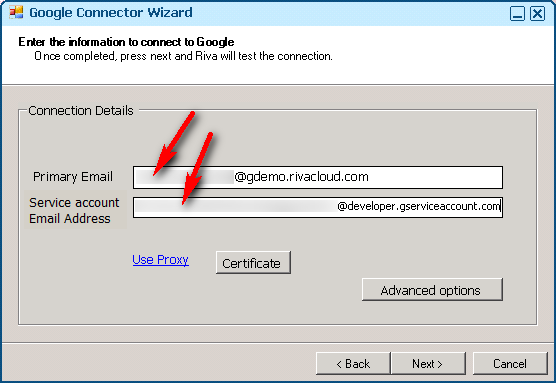
Enter the connection details for the Google connection.
-
Primary Email: Provide an Administrator account for your Google environment that has access to the groups and their members that will be syncing.
-
Dev Account: Provide the Service Account Email Address generated at step 14 of To create a Google development project.
-
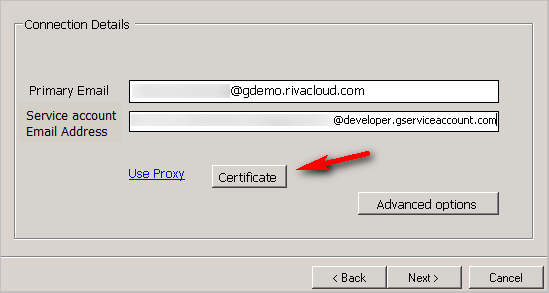
Select Certificate.
-
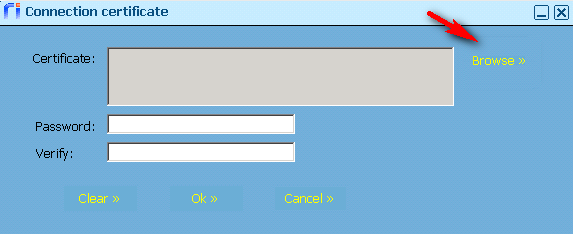
To the right of the certificate that appears, select Browse.
-
Browse to the location of the certificate generated at step 11 of To create a Google development project, and enter the password displayed at step 12.
-
Verify the password, and select OK.
-
Select Next.
The Riva Manager application generates a Google connection object.
.png)
Step 3: Test a Google Enterprise Connection
Tip: Riva administrators who need to troubleshoot can use these connection tests to confirm that the Riva connection to Google is working.
To test the connection to confirm that user impersonation is working:
-
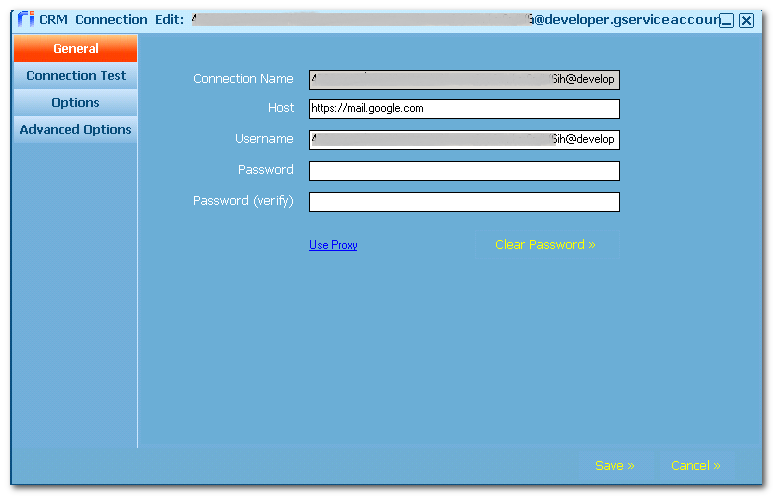
In the Riva Manager application, on the menu bar, select Setup. In the right pane, double-click the Google Connection object.
-
Select General, and confirm that the connection credentials look correct.
-
To test the Riva connection user: Select Connection Test, leave the User E-mail text box empty, and select Run Test.
.png)
The system tests that the connection host and credentials work.
-
In the Test Succeeded message box that appears, select OK.
-
To test impersonation into a Google user that Riva will sync: In the User E-mail field, provide the Google account user name (username@email.domain) for one of the Google accounts that will be synced with the target CRM, and select Run Test.
.png)
The system tests that the connection user tested at step 3 is able to impersonate into the target Google user account.
-
In the Test Succeeded message box, select OK.
-
In the bottom right corner, select Cancel to close the CRM Connection Edit window.
Step 4: Edit the Google Enterprise Connection
-
In the Riva Manager application, on the menu bar, select Setup.
-
In the right pane, double-click the Google Enterprise connection to open the CRM Connection Edit window.
-
(Riva 2.4.46 or higher is required for this step.) Optional: On the General page, assign a user-friendly Display Name.
-
Save the connection.
