Riva CRM Integration - Documentation and Knowledge Base

Request and Activate a License: Riva On-Premise for GroupWise

Article ID: 298
Last updated: 31 Jan, 2017

This article discusses how to request and implement licenses for Riva On Premise Server for GroupWise.  This article covers:

When to Request a License

A license should be requested after the GroupWise and CRM connections have been configured and tested, but before a CRM synchronization policy is created.

How is Riva CRM for GroupWise Licensed

Riva for GroupWise is licensed by the number of target user accounts specified in the Riva sync policy being synced through the GroupWise and CRM connections.  Riva for GroupWise supports multiple email domains, using the value of the eDirectory email attribute for each target user.

Requesting Riva licenses:

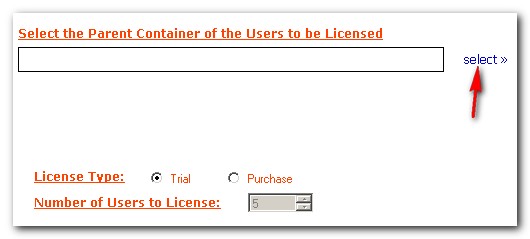
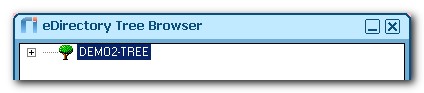
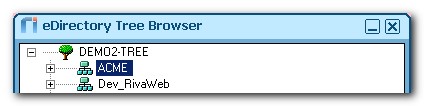
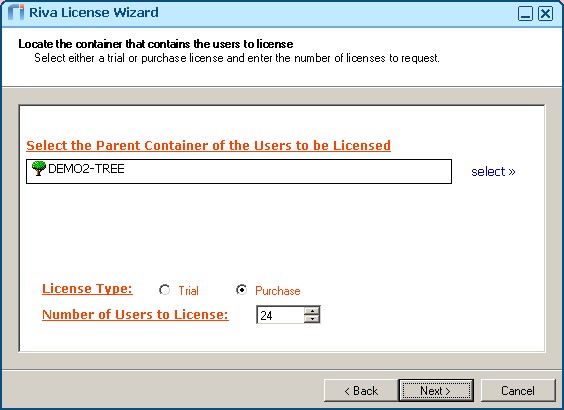
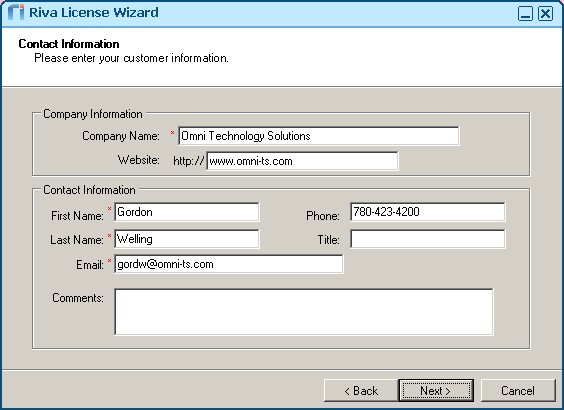
How to Request a License for an Enterprise GroupWise Connection

Once the Enterprise GroupWise connection and CRM connection have been created, run the Riva License Wizard to create a license request file and submit the request electronically or email the resulting file to Riva to receive the license.

To create a license request:

  1. On the menu bar, select Request License.  If the selection is not available, then in the Policies tab, select Enterprise CRM Integration to open the pane that displays the "CRM Synchronization” policy. Right-click Exchange CRM Synchronization, and select Request License to start the Riva License Wizard.

  2. On the Welcome to the Riva License Wizard page, select Next.

  3. On the Choose Licensing page, under CRM Integration, select GroupWise, and select Next.

  4. On the Choose which CRM to license page, ensure that the desired CRM connection is displayed, and select Next.

  5. In the Select the Parent Container of Users to be Licensed box, if the list is empty, select the select >> link.

  6. In the eDirectory Tree Browser window, select the TREE object...

    ... or if licensing needs to be isolated to a particular parent container, expand the tree and select the container.

    Select OK to add the selected Tree or container to the license.

  7. In the Select the Parent Container of Users to be Licensed box, select a Trial or Purchase license, and specify the number of accounts to license.


    Select Next.

  8. On the Contact Information page, fill in the information, and select Next.

  9. On the Submit Request Electronically? page, select Yes.

    Riva attempts to upload the license request to the Riva License Request server.

    If the license request upload is successful, Riva displays a successful Completed message box. If the license request upload is not successful, Riva displays a Completed window to prompt you to send the file that was created to licensing@omni-ts.com, Note the path to the Riva CRM Integration Server for Exchange Admin Guide www.omni-ts.com.

  10. Close the Riva application, and wait to receive an email with an activation code or a license file.

How to Request a License for a GroupWise 2014 or a Direct GroupWise Connection

The Riva License Wizard does not support GroupWise 2014 or Direct / Private GroupWise connections. For assistance,

The following information is required:

  • Login name for the GroupWise connection - for example, username<>example.com (GroupWise 2014) or username@example.com (Direct/Private).
  • Type of CRM connection - for example, Salesforce.
  • Login name for the CRM connection - for example, riva@example.com or admin@example.com.
  • Name of the Company to register the license to.
  • Name, phone number and email address for the license contact.  Provide the email address of the individual who should receive the license file.
  • Screen shot of the General page of the CRM and GroupWise connections.

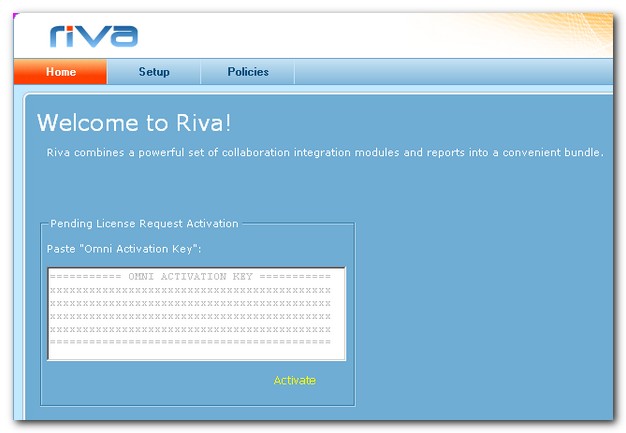
The Riva License Team will email the license contact a copy of the license file. For instructions, see How to manually apply a license file.

How to Activate a License

For trial license requests, you will receive an email with an Activation Code and a corresponding license file:
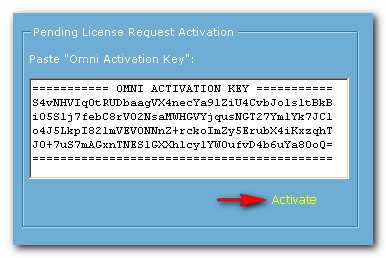
How to apply a license activation code

If you receive an email with a license activation code:

  1. Launch the Riva application.

    Riva navigates to its Home tab, which displays a text box for the activation key.

  2. From the email, copy and paste the activation key into the text box for the key, and select Activate.

  3. In the "Activation Success!" message box that appears, click OK.

If the activation code is not successful

Under certain conditions, applying the activation code may fail.  If that occurs, follow the steps in How to Manually Apply a License File using the license file attached to the email that delivered the trial license activation code.

How to apply a license file

To manually apply a replacement license file received from Riva license services:

  1. Close and stop all Riva-related applications and services.

  2. Browse to the Riva execution licensing folder (for example, C:\Program Files\Omni\Riva\Licenses).

  3. If you are replacing an existing license or upgrading from a trial license, remove all existing files in the license folder. You may want to move those files to a different folder, for example, \Riva\Old\Licenses.

  4. Save the attached license file to the Licenses folder.

  5. Launch the Riva application.

  6. In the Policies tab, right-click your CRM sync policy, and select License Details. Confirm that the correct purchase license has been applied and the expiration dates are correct.  Close the license details window.

  7. Open the Riva CRM Monitor application, and start the service. Confirm that there are no license errors.

  8. If you encounter any errors, contact the Riva Success Team.

How to Request a License Extension or Purchase License

If you need a trial license extension or would like to purchase a license, contact the Riva Success Team to request the correct license file. License extensions and purchase licenses are delivered as a license file attached to an email and are always manually applied to Riva.

This article was:   Helpful | Not helpful
Report an issue
Article ID: 298
Last updated: 31 Jan, 2017
Revision: 3
Views: 7345
Comments: 0
Also read

Also listed in